How to generate image using Stable Doodle?
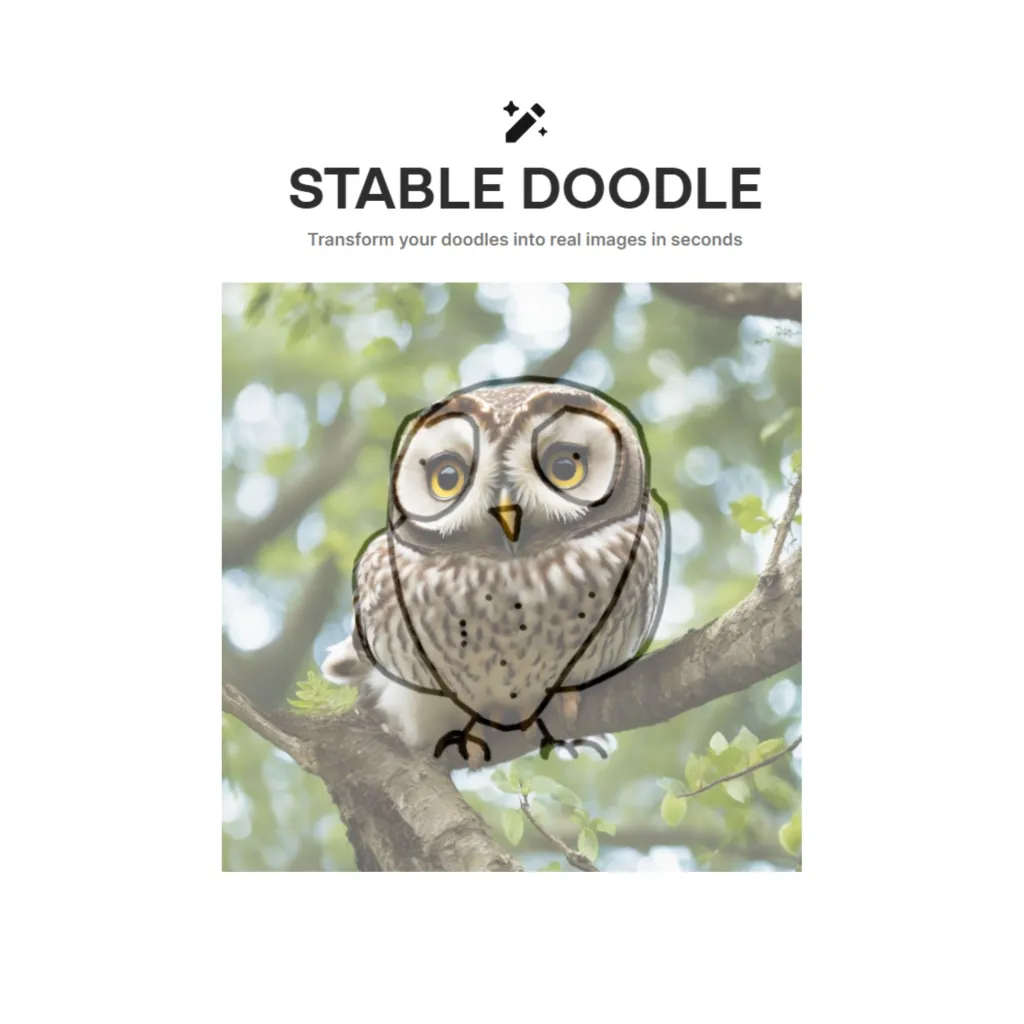
Stable AI has released their new service known as Stable Doodle. Using this tool one can generate images from simple sketches. Read more to know How to generate image using Stable Doodle.
What is Stable Doodle AI?
Stable Doodle is a sketch-to-image tool that turns a basic drawing into a dynamic image, giving a wide spectrum of users endless imaging possibilities.
Stable Doodle uses the most recent Stable Diffusion model to analyze the outline of a drawing and produce a visually appealing artistic portrayal of it.
You can access Stable Doodle through ClipDrop. ClipDrop is a platform owned by Stable AI. “Stable Doodle is geared toward both professionals and novices, regardless of their familiarity with AI tools; With Stable Doodle, anyone with basic drawing skills and online access can generate high-quality original images in seconds” – Stability AI.
According to Stability AI, Even though there are many AI Image generators available throughout the internet, Stable Doodle allows users to have more precise control over the Image Generation.
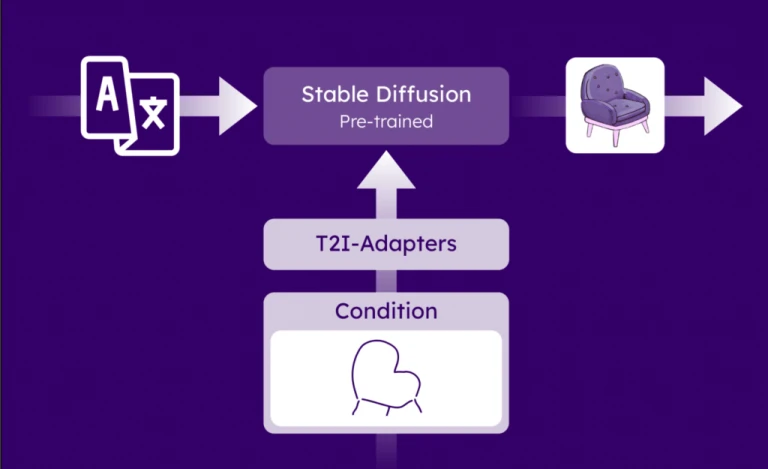
Stable Doodle combines the advanced image generation technology of Stability AI’s Stable Diffusion XL with the powerful T2I-Adapter. It enables exceptionally fine control over AI image generation.
In addition to sketch to image, Stable Doodle also provides the users with the option of text to image generation. You can select out of 13 styles of image generation for your text prompt, such as cinematic, origami, 3D model, anime and many more!
How to use Stable Doodle ai?
You can use Stable doodle on ClipDrop.co. Stable Doodle is a part of ClipDrop website and it is available for the public as of writing this article.
To generate an image all you have to do is to open the Stable doodle tool in ClipDrop, and draw your sketch. However, you need to enter the prompt to give more detail about the image; like color, angle, lighting etc.
How to generate image using Stable Doodle
You can access Stable Doodle using this link – https://clipdrop.co/stable-doodle. Once you are in you can follow the following steps to generate images.
Step 1: Draw your sketch on the canvas space available.
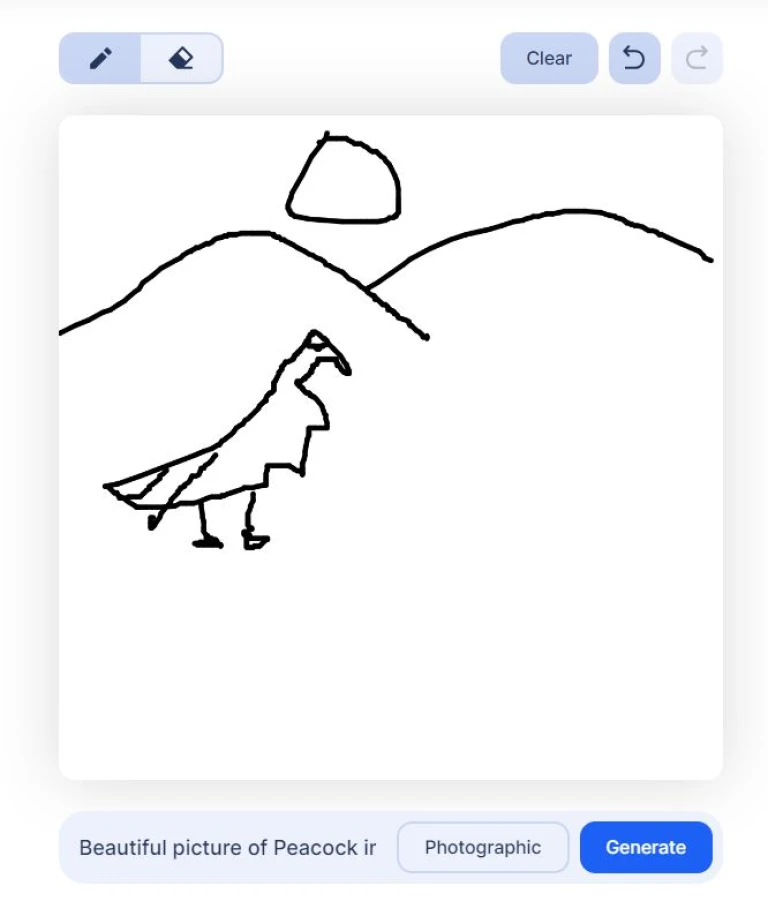
Step 2 : Enter the prompt for the image you want to generate. Try adding details about the end result of the image you are thinking of. For example – lighting, background, size etc. Hit the generate button and wait for a few seconds, let the AI create your image. 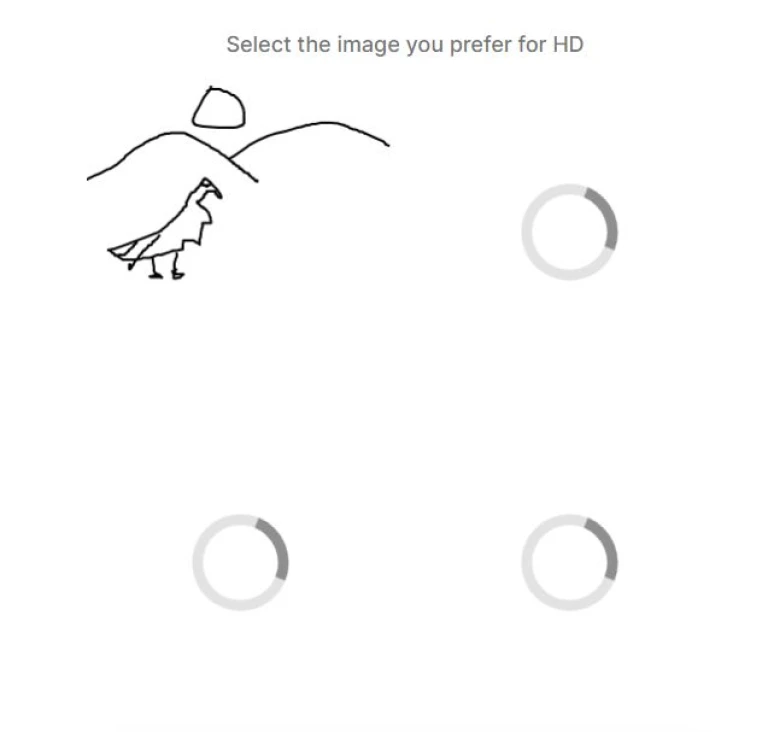
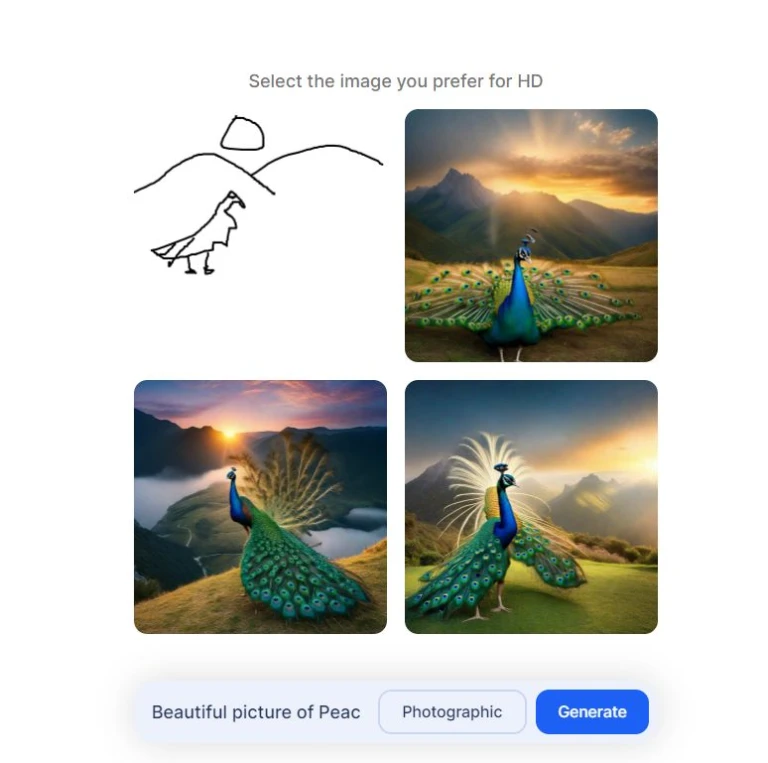
Step 3: Once the Image is generated, you can select the image you wish to download in HD quality.
To download the image in High Definition, you can just tap on the image and wait for it to load. Once the image is ready, you can select the “Download” button on the right corner to save the image in High definition. You can download all three generated images.
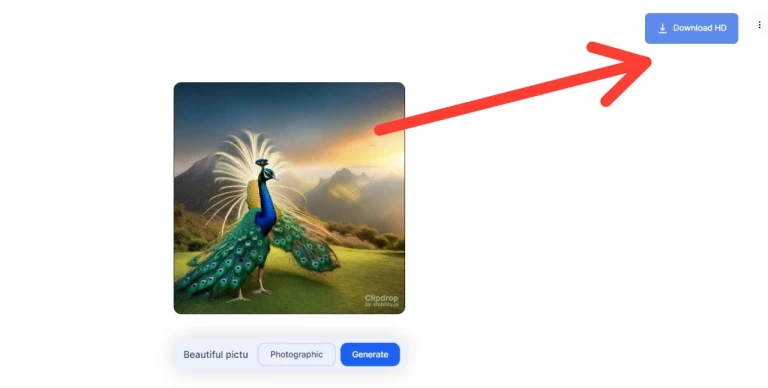 Download the Image in High Definition
Also read on What is ChatGPT’s new Code Interpreter?
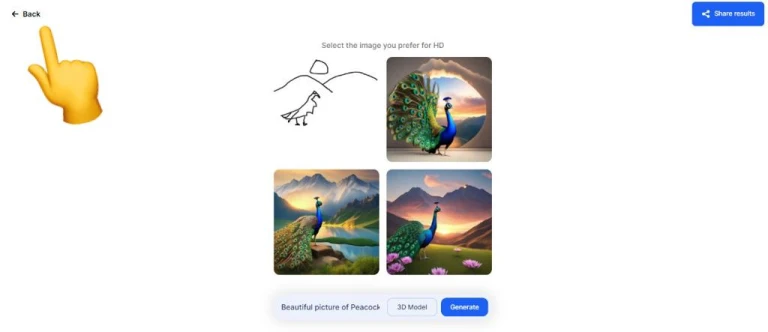
Note: To generate more images using the same sketch you have drawn, you can simply click on the “back” button in the website and make the changes (style, prompt, sketch). Refer below image. (avoid using back arrow button on your browser, since it might take you back to the landing page – resulting in erasing your sketch and prompt)
Here are the images that I created while testing out the Stable Doodle tool. Check this out
 Propmt – Beautiful picture of Peacock, scenic landscape in the background with sunrise
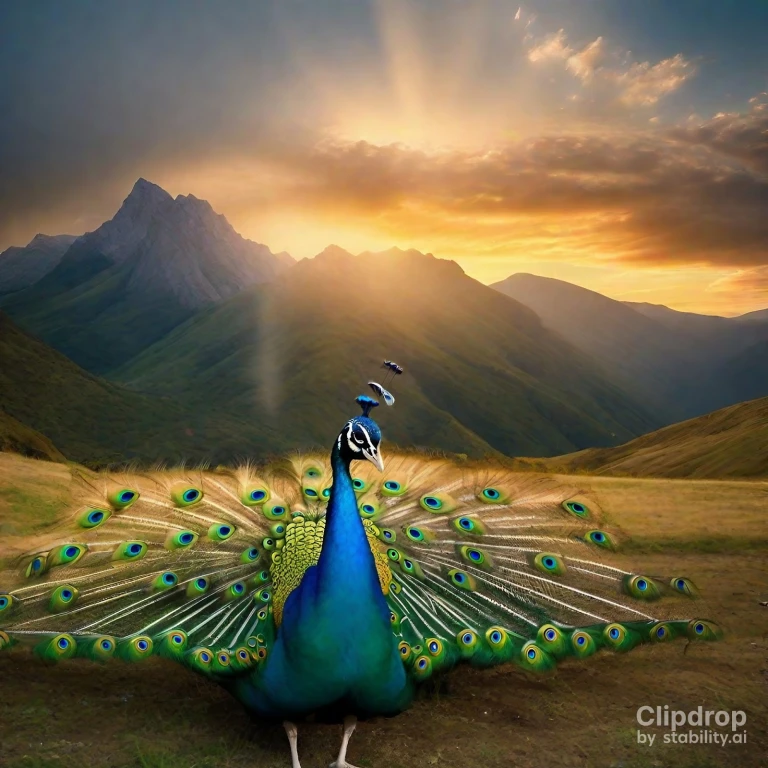
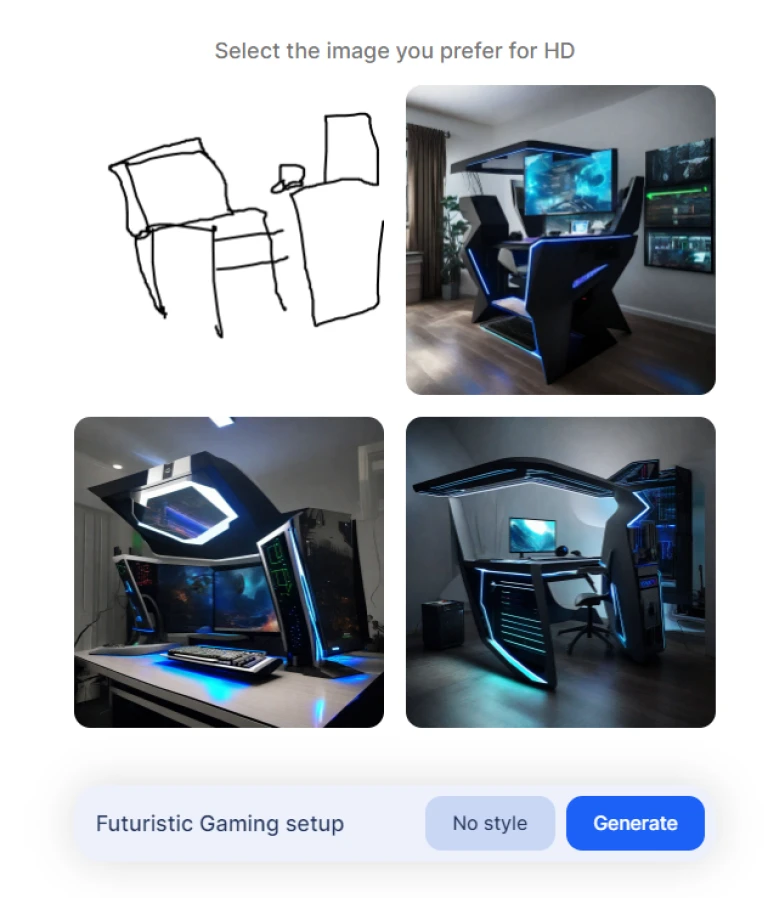
Further, you can try and change the result of your images by changing the style of your images. Here are a few examples.
 No Style – Stable Doodle
 Photographic Style – Stable Doodle
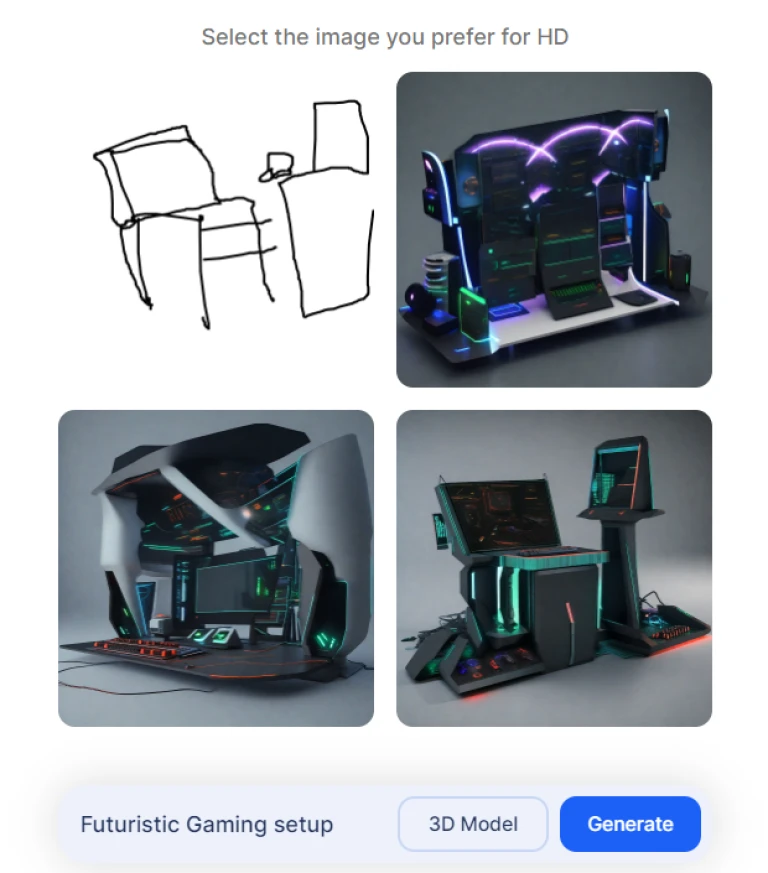 3D Model Style – Stable Doodle
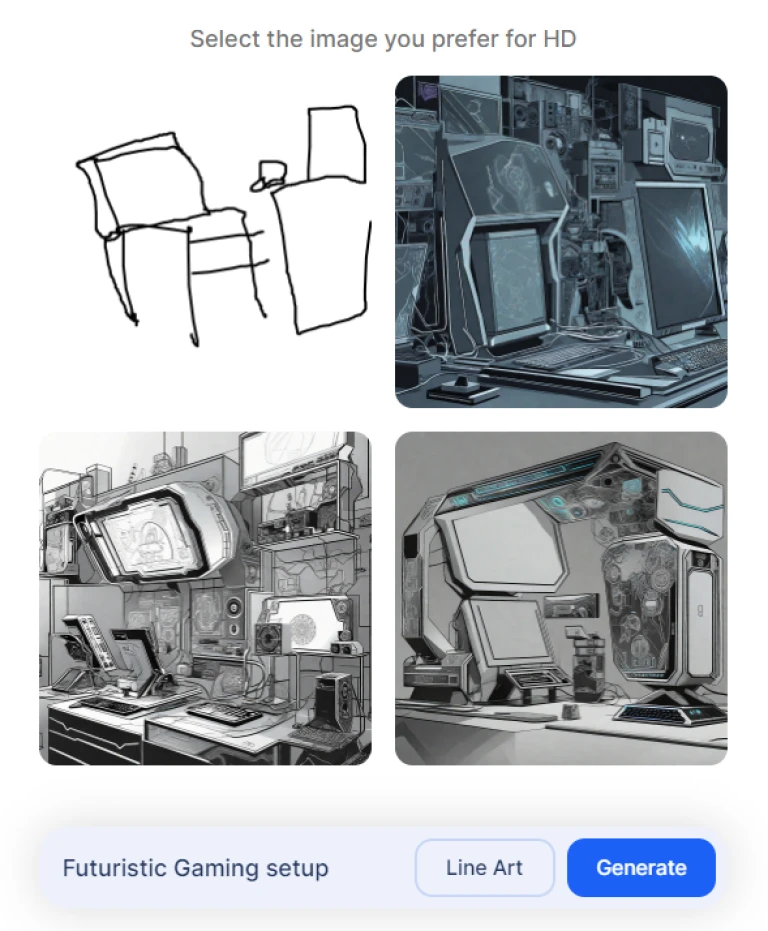 Line Art Style – Stable Doodle
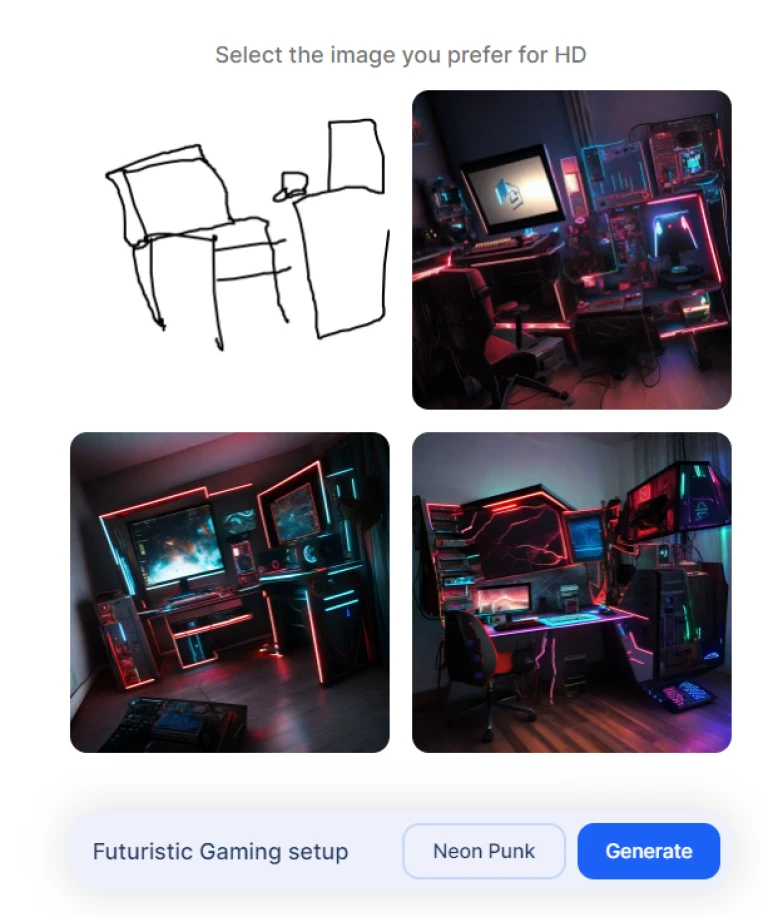 Neon punk Style – Stable Doodle
What are your thoughts on Stable Doodle? Let us know your thoughts on our social media pages.
That’s all for this article! Hope this was informative for you. See you in the next one 😉