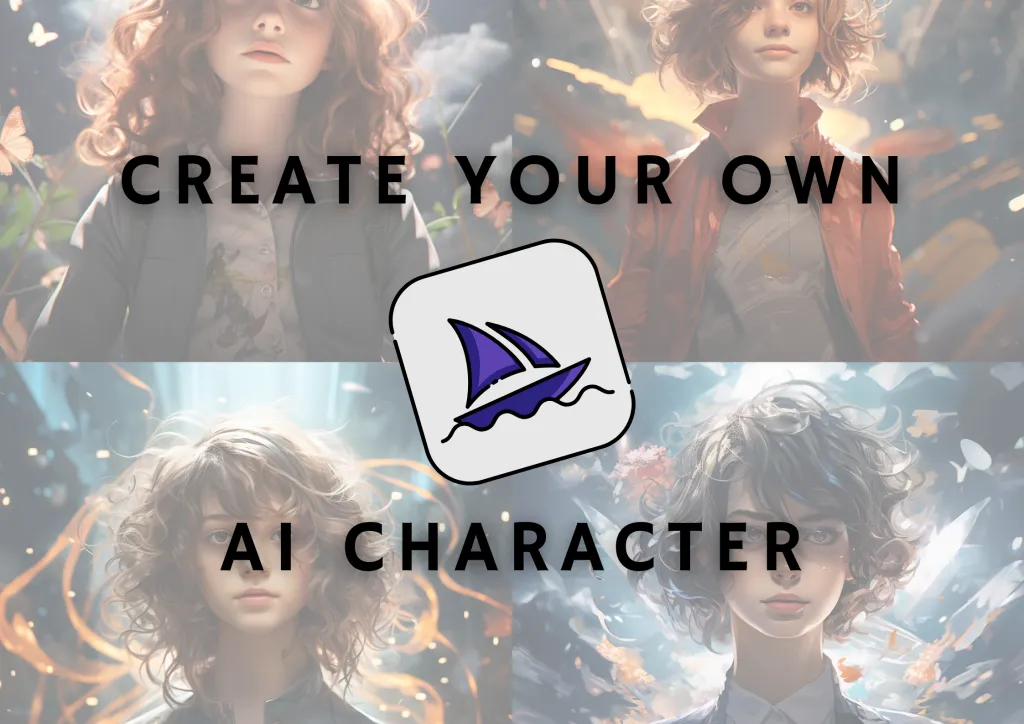
How to Turn Yourself in to an AI Character?
Welcome to the exciting realm where imagination meets artificial intelligence! In this digital era, we are witnessing groundbreaking advancements that have revolutionized various aspects of our lives. One such area is character creation, thanks to the power of AI. Gone are the days when you had to spend countless hours developing intricate characters from scratch. With AI technology at our fingertips, we now have a remarkable tools that can assist us in bringing unique and lifelike characters to life with just a few clicks. Let us see a step-by-step process of creating characters using AI.
Step-by-Step Guide to Creating a Character Using AI
1. Selecting the Right AI Platform
When it comes to creating a character using AI, choosing the right platform is crucial. With numerous options available in the market, it can be challenging to determine which one will best suit your needs. Here are some factors to consider when selecting an AI platform for character creation.
Assess the platform’s capabilities. Look for features that allow you to generate realistic and detailed characters with ease. Consider whether the platform offers customization options for attributes such as facial features, clothing styles, and body types.
Evaluate the training data provided by the platform. A diverse dataset is essential for creating well-rounded characters that resonate with audiences. Ensure that the AI platform offers access to a vast collection of images or text samples that can be used during training.
We have made a list of 5 such platforms. Choose the platform that best suits you and begin your character creation journey.
5 Platforms for character generation are:
2. How to Turn a Picture Into an AI Character?
Turning a picture into an AI character is an exciting process that allows you to bring your imagination to life. With advancements in artificial intelligence, it has become easier than ever to create unique and realistic characters using just a single image.
Once you have found the right platform, upload the picture of your choice. The AI will then analyze the image and extract key features such as facial structure, hair color, eye shape, and more based on the prompts you have entered.
Read on How to write better Midjourney Prompts
3. Gathering Data and Training the AI Model
Now that you have selected the right AI platform, it’s time to gather data and train your AI model to create a unique character. This step is crucial as it lays the foundation for developing a well-rounded and realistic personality.
To start, you need to compile a diverse range of data sources that will contribute to shaping your character’s attributes. This can include anything from books, articles, movies, or even real-life interactions. The more varied your data set is, the better chance you have of creating a truly dynamic character.
Next comes training the AI model. This process involves feeding the gathered data into your chosen platform and allowing it to analyze patterns and learn from them. Be prepared for some trial-and-error as you fine-tune parameters like learning rate or batch size to achieve optimal results.
Example
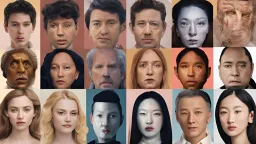
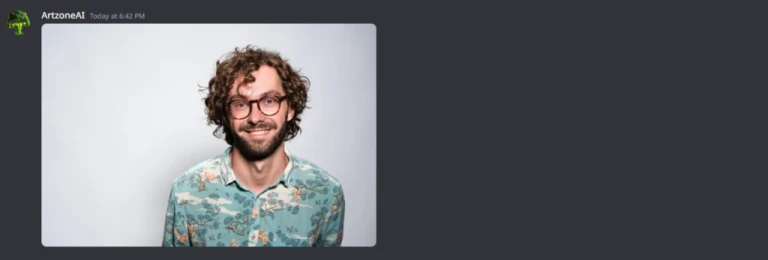
Here is the character that we created using the Midjourney discord server.
- Click on the “+” (plus) symbol on the bottom left of the text bar and click on “Upload files”
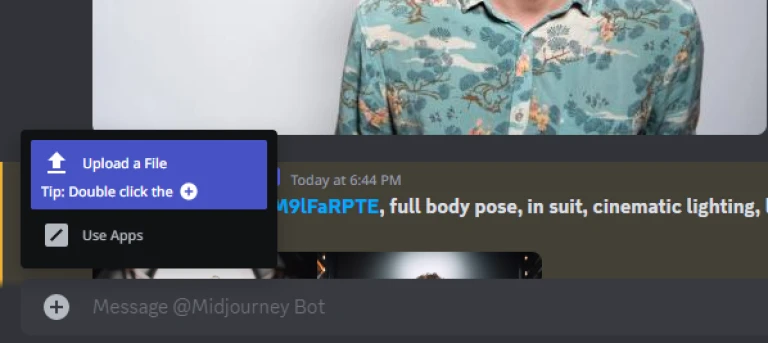
- Next upload the image of your choice and click enter.
- Once the image is uploaded, you can open the image and left click and select “copy link”
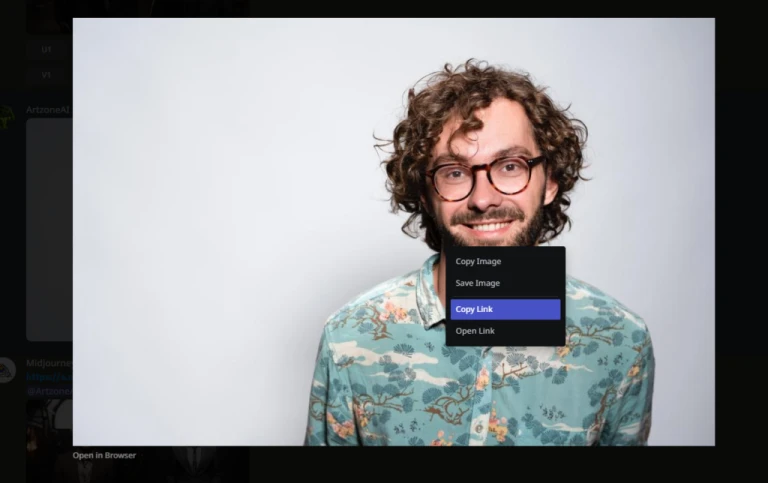
- Now click on the text region and enter “/imagine” and once the prompt appears, click on it and paste the link.
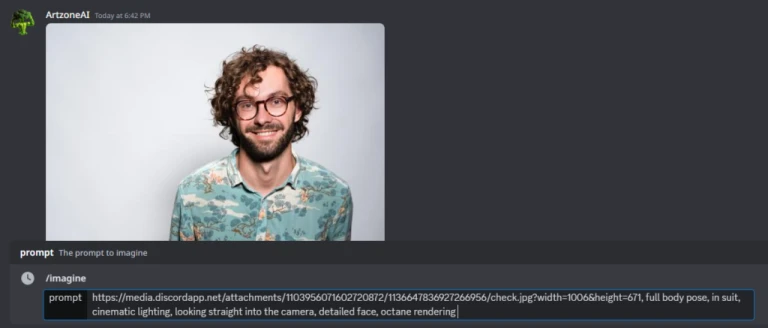
- Once the link is pasted, continue with your other add-on prompts like the lighting setup, dress style, hairstyle and such features and upload.

You have your character ready. Now we can tweak the prompt as we wish to create something completely different with same traits. for example, we can keep the long hair and other basic structure of the subject and change the other aspects like age, gender.
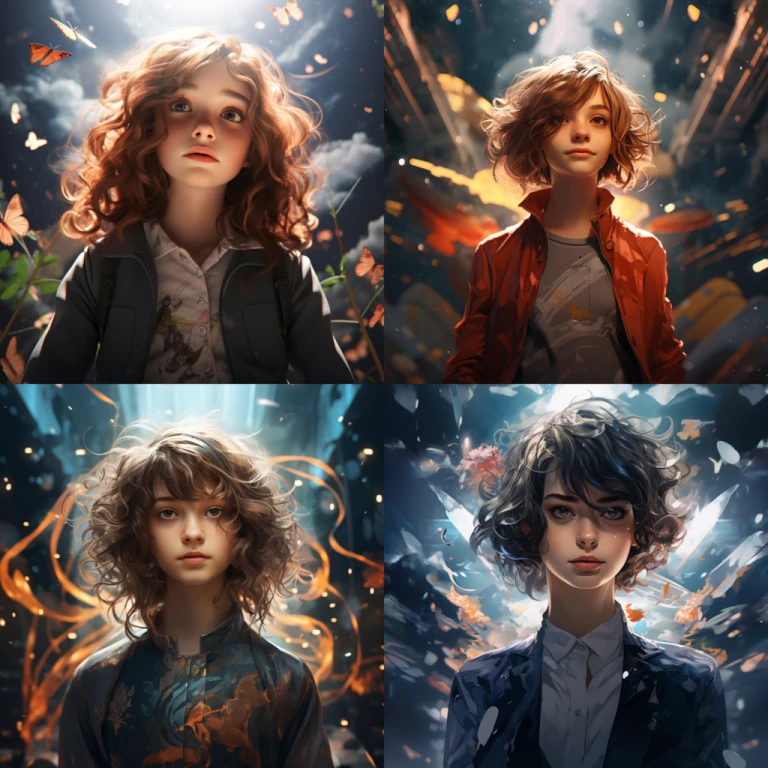
You can create a hyper realistic twin of the same character as well. Tweak with the “VARY(strong)” option on Midjourney and you will be surprised with the results you get after few trial and error.

- Voila, you have your character ready for its next step.
you get 4 different option to choose from. select the one you want to upscale further and do other modifications.
You can go with a 2D or 3D anime character as well, or any format that suits your project by just mentioning the keyword “anime” in the prompt or just change the settings from Midjourney to Nijijourney. Niji is well known for creating anime formats.
Now, you can choose what you would like to do with your character. If you are creating a comic story/magazine/ short video stories or anything, you can use this character further for anything.
Read on AI tools for Social Media
4. Fine-tuning the Character’s Attributes and Personality
Once you have gathered the necessary data and trained your AI model, it’s time to fine-tune your character’s attributes and personality. This step is crucial in ensuring that your AI-generated character aligns with your vision and meets the specific requirements of your project.
To begin, carefully analyze the initial output of the AI-generated character. Is it capturing the desired traits? Are there any inconsistencies or areas for improvement? Take note of these observations as they will guide you in refining and adjusting the character.
Next, experiment with different parameters such as facial expressions, body language, speech patterns, and overall demeanor. By tweaking these variables within your AI platform, you can mold a more customized and authentic character.
Don’t be afraid to iterate through multiple rounds of adjustments until you achieve the desired outcome. Remember that this process requires patience and creativity to strike a balance between realism and uniqueness.
If you want to create your own image with a more detailed outcome, you can check out this tweet to understand more about the process.
Source: Twitter📢After my last guide, many of you have asked about how to create avatars or photographs of yourselves using #MidJourney, so here's another simple step-by-step guide to help you achieve it!
— TechHalla (@techhalla) August 1, 2023
Don't forget to like and RT if you've enjoyed it! 🩷🔁#AIArtCommunity #QuickGuide pic.twitter.com/SKHsWUtY7L
Fore creating consistent characters, please do check out this post.
Source: TwitterCREATE A CONSISTENT CHARACTER with just 1 prompt in #midjourney – List📜- AI Summer Hacks #6
— Artichoke AI – D.K.💡 (@artichokes_art) June 16, 2023
We often discuss how to modify a prompt to get a character resembling the previous one.
But there are prompts that require only 1 run to generate a consistent character depicted in… pic.twitter.com/cFvayqrsEi
What’s next? A Backstory for your Character!
Now, if you are further planning to create a snippet behind this character or a new profile or identity for a story plot, you can do so by making use of AI once again. With a click of a few buttons and inputs, you can create a complete storyline behind this character, starting from where he was born, his parents, his ethnicity till his current affairs, all ready at the point of one click.
Here are few of the platforms you can checkout to create a storyline for your character, or even better, first you can create the storyline which will help you create the character design later.
- Toolsaday
- Prechance
- Character Generator
You can complete profile on the character using any of the above tools like this one. All you need to do is enter basic details to create an identity like Name, Age, Gender etc.
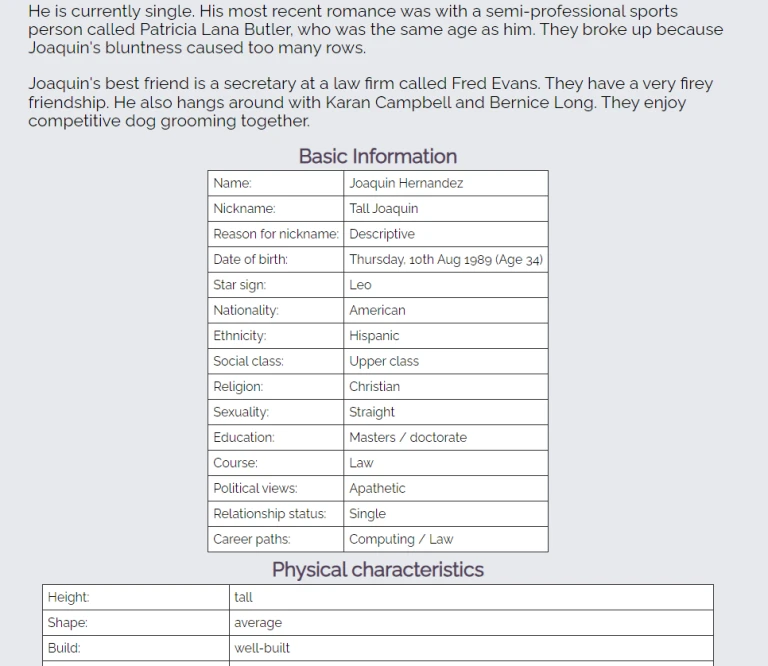
Read the whole profile character
Conclusion
There was a time when all this was beyond imaginable to create for a regular person. But the time has changed, all top end designs and creations are just a click away and it’s high time you start making use of it right away. If you have interest in the field of AI, that’s well and good, but if not, it’s still better to know these things which will help you in future to create anything that’s digital. So give this a try and explore the fun world of AI art generation and enjoy your character creation process.