How to use the Outpainting feature in DALL-E AI Art?
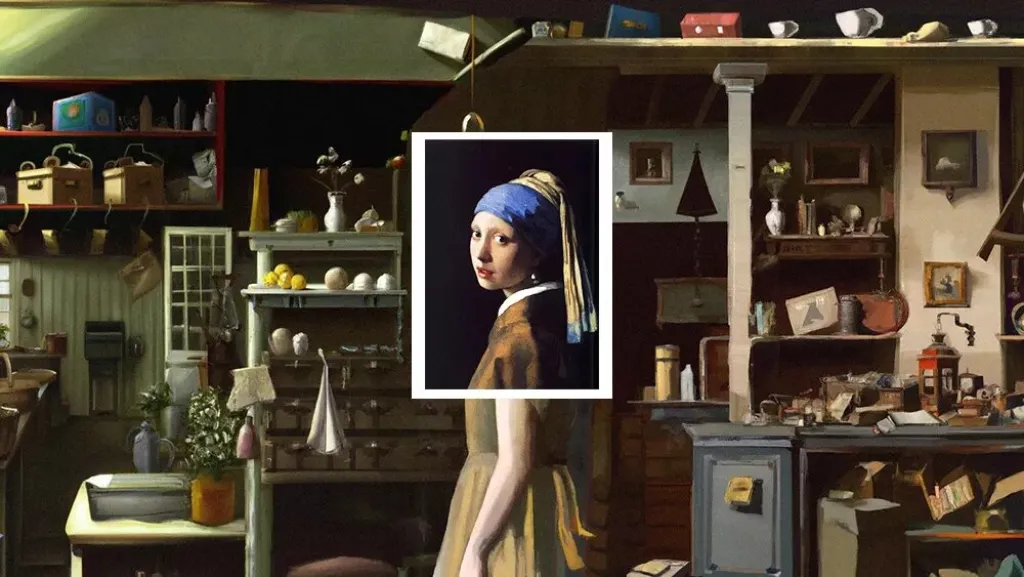
Have you ever wondered how some of the famous paintings looked if extended out of its frame? With the new outpainting capability in DALL-E 2, AI has you covered. Now with the help of Outpainting Feature in DALL-E you can actually Create this scenarios.
A twitter user shared outpainted AI Art with the famous Paramount Pictures AI Art“Paramount Pictures Outpainting” by lu9_st#dalle #dalle2 #aiart #aiartwork pic.twitter.com/B3t0lBSCgz
— Best Dalle2 AI Art 🎨 (@Dalle2AI) September 1, 2022
The Dall-E neural network now has a new feature known as “Outpainting” which enables users to enlarge an image’s borders using “visual elements in the same style.” This blog will explain how to use this feature to create exciting images using existing images.
What is Outpainting – DALL-E’s New Feature?
DALL·E’s Edit feature already enables changes within a generated or uploaded image feature known as Inpainting. Now, with Outpainting, users can extend the original image, creating large-scale images in any aspect ratio. Outpainting takes into account the image’s existing visual elements — including shadows, reflections, and textures — to maintain the context of the original image.
One of the major advantage of using oupainting feature is that you can fix a desirable position for your input image inside the AI Art, which will not be changed even after the Art is generated.
Dall-E, which is presently in beta, reached 1 million users in July. Artists, researchers, and designers are a few of its users. All Dall-E users on PC can access the feature
DALL·E’s canvas just got bigger. Expand your creativity with Outpainting: https://t.co/7vyQ42jyyr
— OpenAI (@OpenAI) August 31, 2022
How to use Outpainting to create AI Arts?
These are the brief and simple steps to follow to use Outpainting feature Effectively. Once you have opened DALL-E AI Art generator you can follow the below given steps to create exciting arts.
- Select Outpainting option
- Upload Image to Outpaint
- Crop the Image you want to Outpaint
- Enter text prompt
- Select Image variation you like
- Download the Outpainted Image
Let us know each steps in-detail:
1. Select Outpainting option:
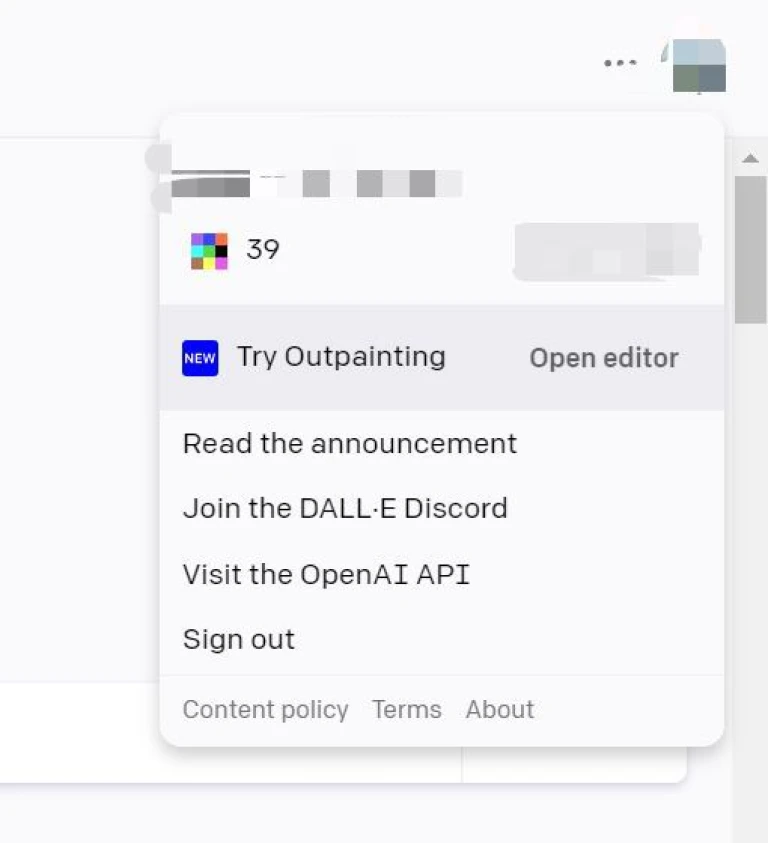
This option is available near your profile/account button in the right corner of the page. Please refer to the Image.
2. Upload Image to Outpaint:
Select the image upload option and select the image which you want to use for outpainting. The outpainting option is now only available at 1024*1024 frame. Therefore, select the image according to the frame or reduce the image size using different free tools available.
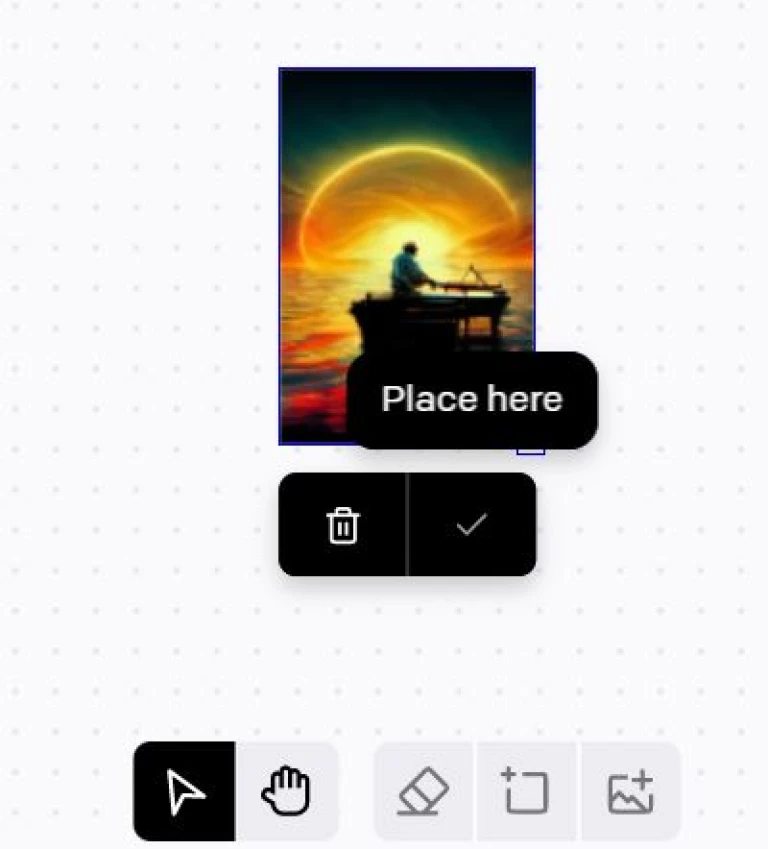
3. Crop the Image you want to Outpaint:
In this stage you can crop the part of the image you want to use for AI Art. Make sure to select only the part you wish to use for outpainting. Also, make sure to place the image properly inside the generation frame to get the desired result. Note that you can move your feed image as per your wish inside the generation frame before generating the AI Art.
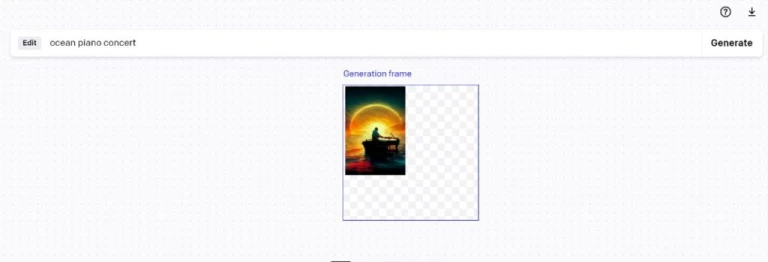
4. Enter Text Prompt:
Once you have placed your image in the desired position, you can proceed to enter the text prompt for the image. You can find the text prompt bar right above the Image Generation frame.
5. Select Image variation you like:
You can choose from 4 variations of images. Image variations are available right below your image generation frame. Also, you can change the text prompt for better results and generate again for more variation options.
6. Download the Image:
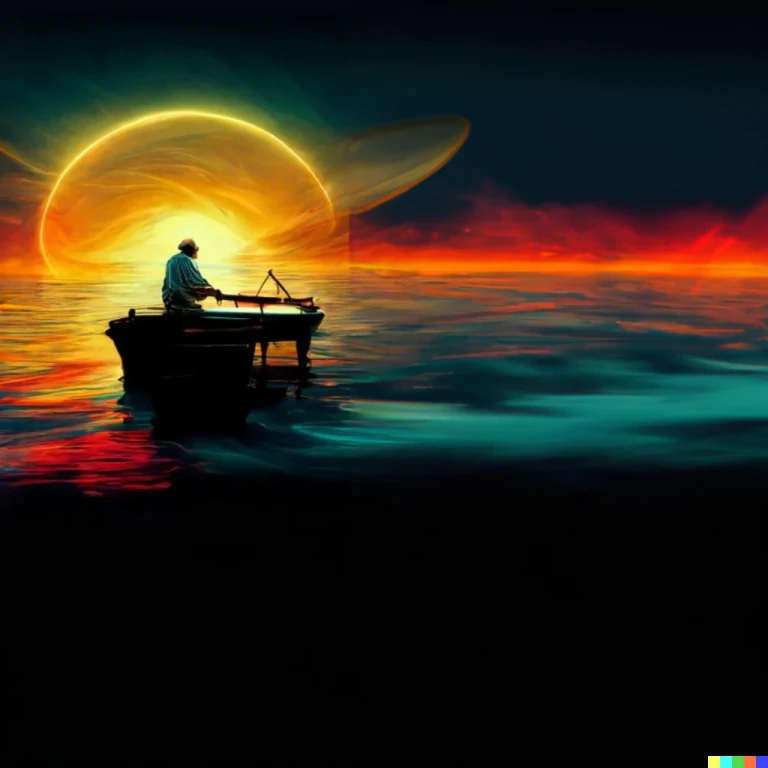 AI Art created using Outpainting feature
Once you are happy with the art that you have created, you can proceed to downloading the image. Please refer to the reference images.