How to turn yourself into AI Superhero using Midjourney
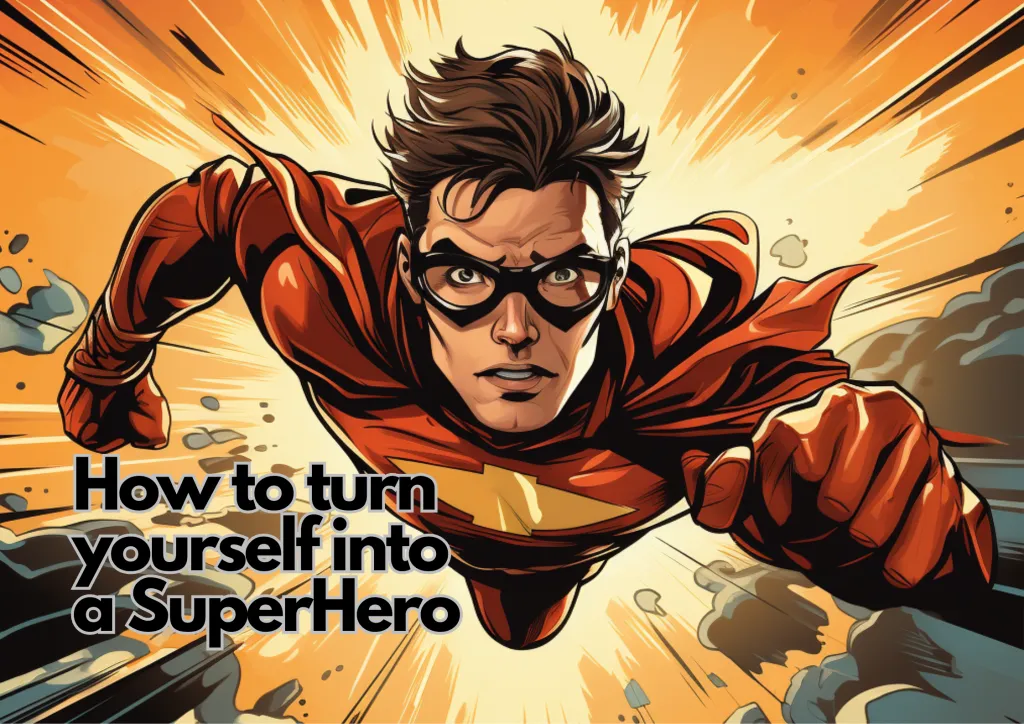
In an era where AI is revolutionizing digital artistry, converting your image into an AI superhero character has never been more easily accessible or exciting. This process lets you dive into a world of interactive and imaginative experiences.
This article will guide you through the steps to morph your image into an AI character using any AI image-generating. Here, we will use Midjourney as our Image generator.
Step 1: Selecting the Right Image
Image Quality

High-resolution images work best as they provide more details for the AI generator to analyze and replicate.
Image Content
Ensure your image clearly shows the face of the subject you want to transform into an AI character. Here we will take a demo image. You can try it with your own image.
Use images with a plain background to help the AI focus on the primary subject.
If you need a demo copyright image, you can visit Unsplash and search for ‘subjects/portrait’ shots there to begin with an experiment image.
Image Format
Stick to common formats like JPEG or PNG for better compatibility with your AI tools we use further.
Step 2: Using Midjourney (MJ) for the image generation
Assuming you are aware of how to use Midjourney through their discord server, here are the further steps involved.
Read on What is Midjourney and how to use it?
In the MJ discord server, Locate the upload section by clicking on the “+(plus)” symbol on the bottom left of the text-box area and click on “Upload a File”.
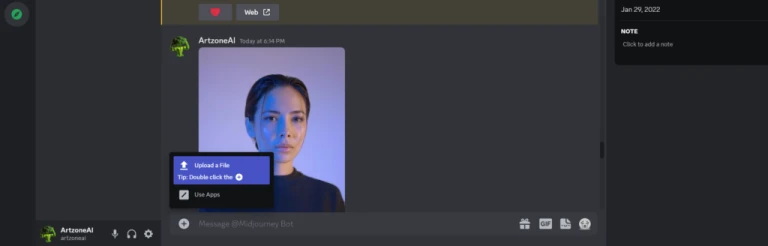
This opens a pop-up window. Now navigate to the section where you have stored the image and click “open”.
Once the upload is complete, your discord window will appear, press enter to process the image. It will be uploaded and once the image is ready in the server, click on the image and you can see the option “open in Browser”.
Now once the image is open in your browser, copy the URL of the image and come back to the MJ discord server and enter “/imagine” -> hit enter.
Next paste the URL copied earlier and the other prompt parameters.
Step 3: Setting Parameters
This is where the magic happens. By entering all the required parameters now we can finally change the image to a desired output, that is the superhero in this case.
The next step involves tweaking various parameters to influence how your AI character will look.
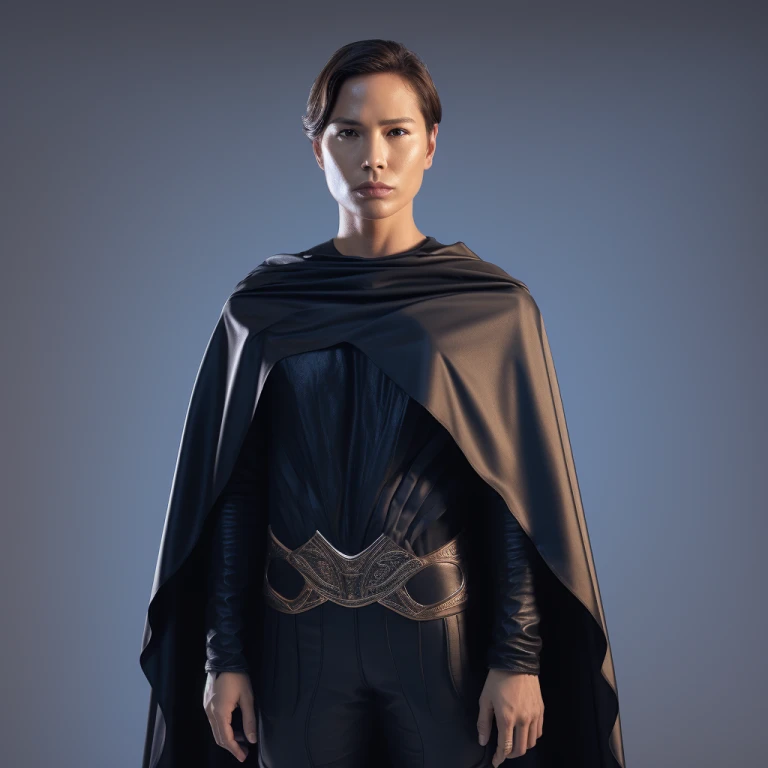
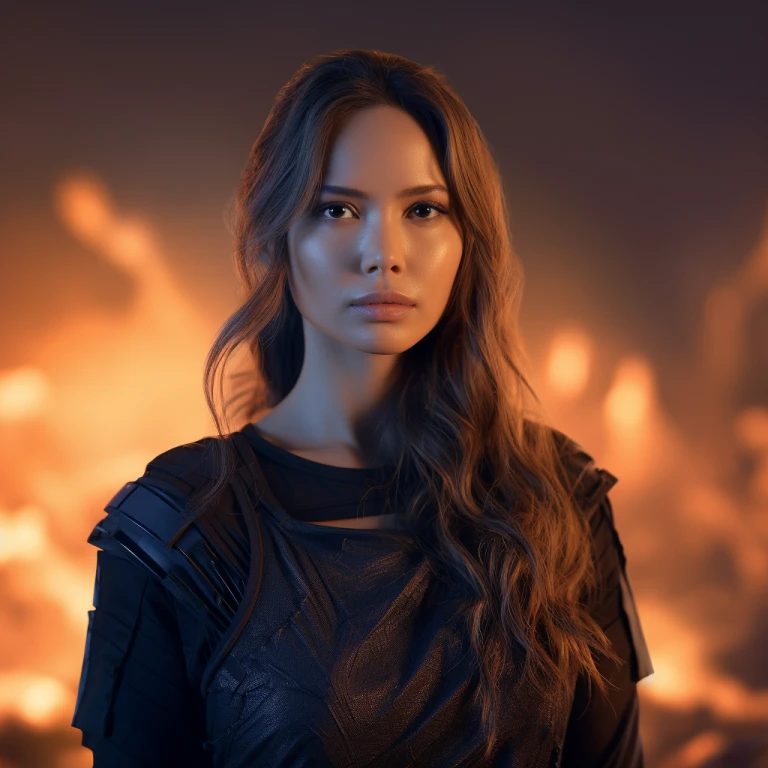
Prompt: [URL], Superhero outfit, cape, glorious, medium shot, superhero attire, –s 250
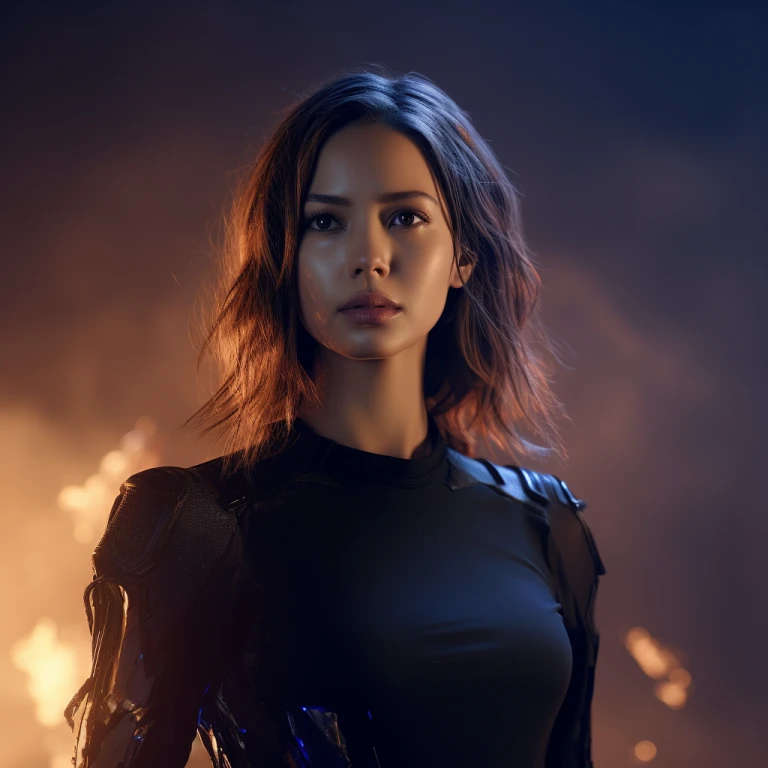
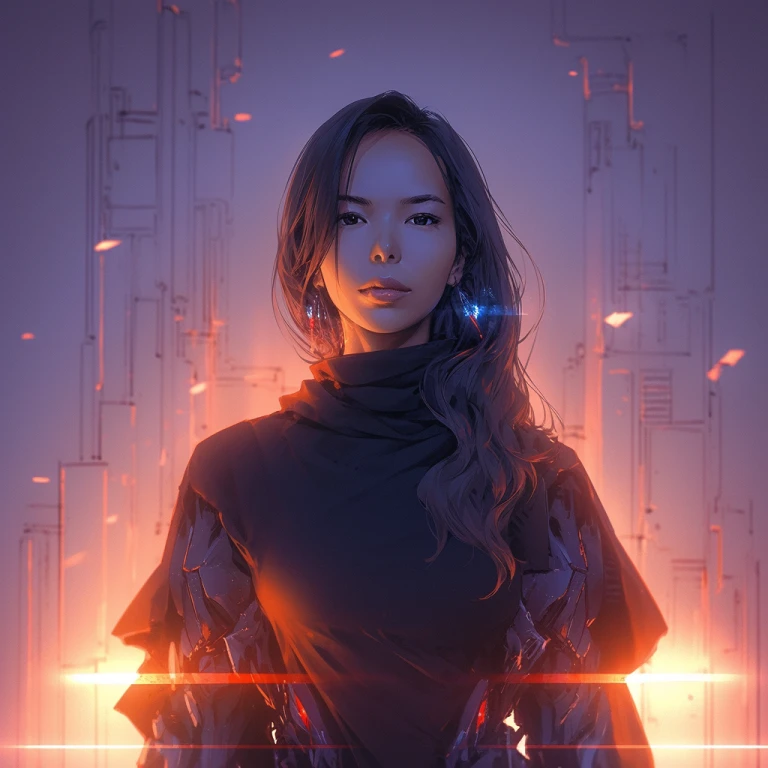
Input: [URL], female superhero, facing the camera, attached capes, unique outfit, Flame in the background –s 250
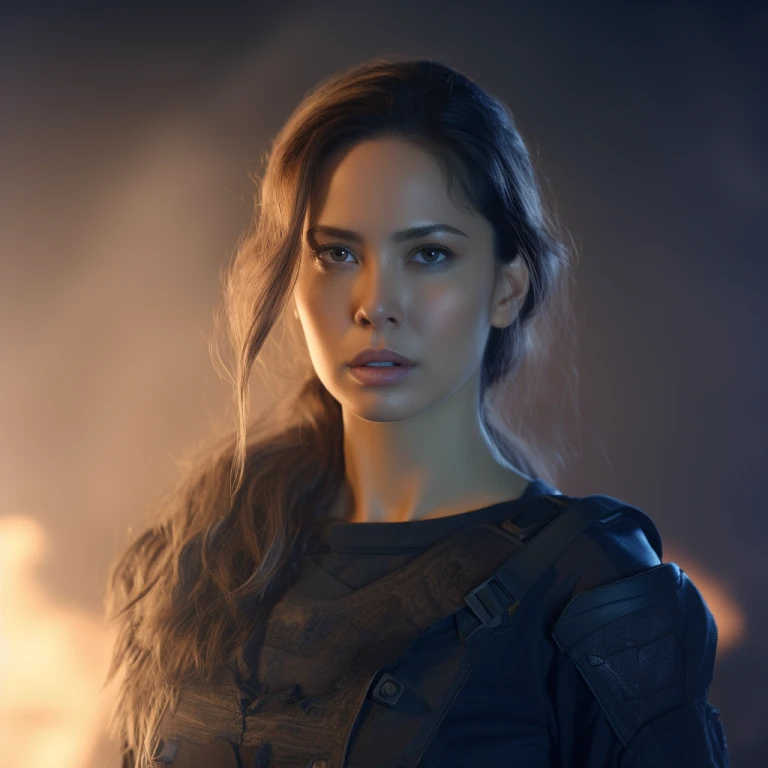
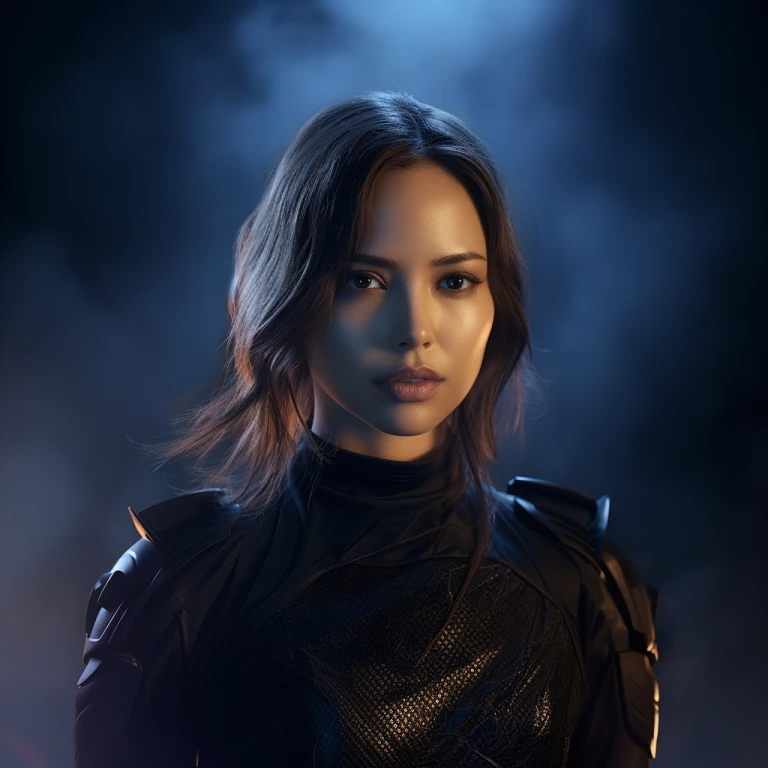
Prompt: Female superhero, glorious, dark background, cinematic –s 250
Character Style
Choose from options like realistic, anime, or abstract, depending on how swiftly it suits your character and it also depends on the AI generator used.
Since we are working with Midjourney and its computation power is exceptional, we can try almost anything.
So far we have seen realistic results, let’s try more animated and in more of a 2D format and see how it turns out.
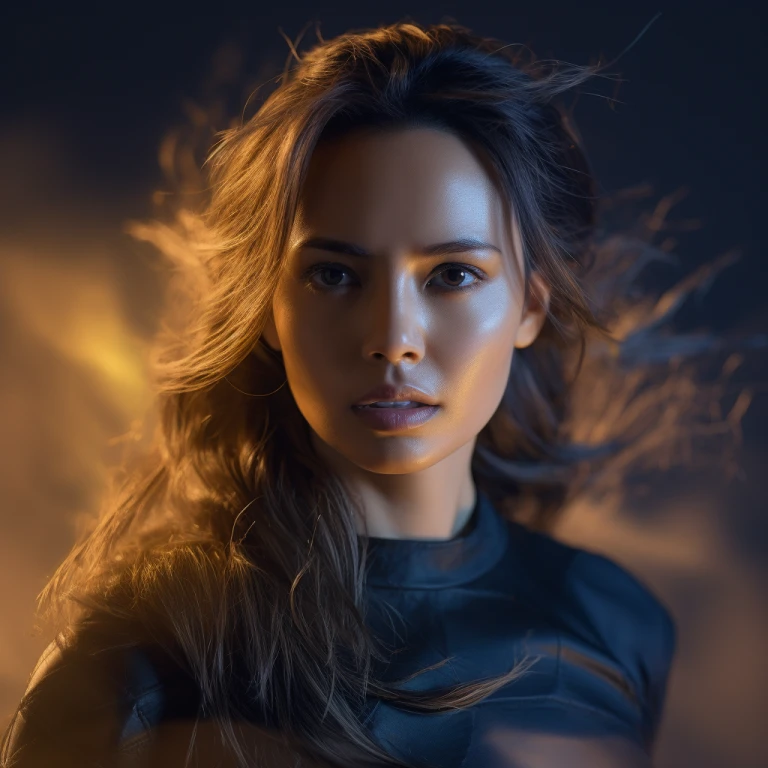
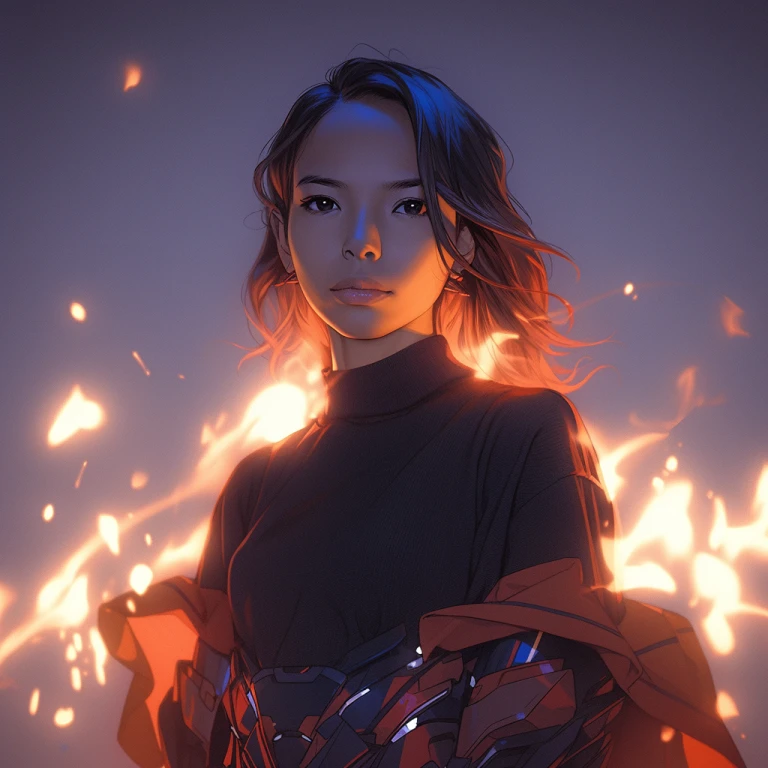
Prompt: female superhero, cyberpunk outfit, magical fire in the background –s 750 –niji 5
(Keep in mind, sometimes the prompt does not work as intended. so keep running trials and regenerating by tweaking a bit)
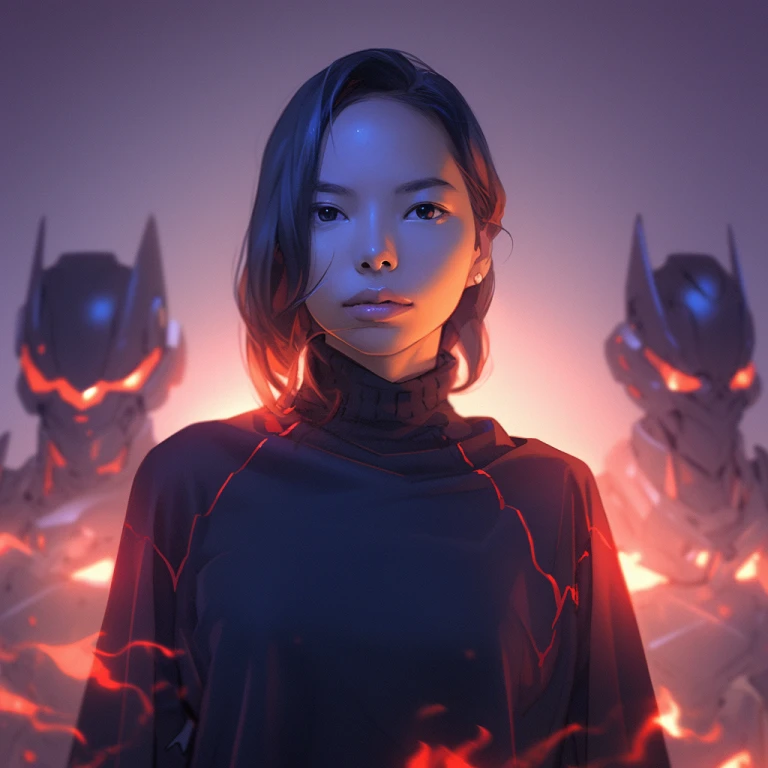
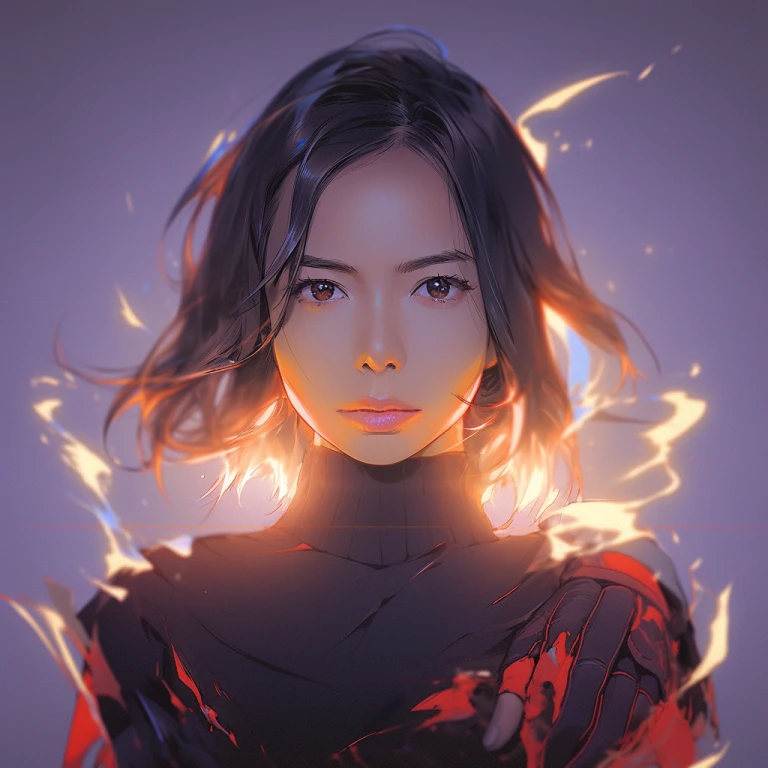
Prompt: anime 2d superhero, swirling flames –s 750 –niji 5

Read on 25 niji Journey prompts to get started
Expression and Pose
Adjust sliders or input values to tweak the expression and pose of your AI character.
Step 4: Downloading and Using Your AI Character
Once your AI character is generated, download it onto your device. Here are some places where you can use your AI character:
Digital Media:
Incorporate your AI character in video games, animations, or virtual reality experiences.
Social Media:
Share your creation on social media platforms and engage with your audience in a unique way.
Marketing Campaigns:
If you are a content creator or an influencer, use your AI character to promote your brand or products in advertising campaigns.
Personal Projects:
Experiment with different images and styles to create a diverse portfolio of AI characters.
Step 5: Iteration and Improvement
The journey doesn’t end with your first character. Analyze the results, seek feedback, and continue to tweak parameters or try different images to improve and diversify your AI character creations.