How to mint NFT for free on opensea
 Guide to mint your NFTs for free
The art world is buzzing over non-fungible tokens. After all, one was just sold at Christie’s for $69.3 million. But how can you get in on the excitement without paying an exorbitant gas fee?
Although gas fees are a part of the NFT game, there are ways to avoid paying premiums and paying higher gas prices.
Here is how to mint NFTs for free:
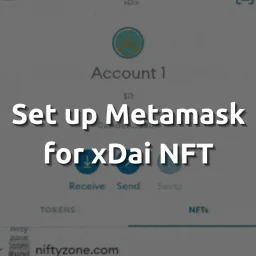
Step 1: Download and set up a MetaMask wallet.
MetaMask, a browser plugin that works with your device, is one of the most popular crypto wallets. Go to the MetaMask website and download the wallet.
Step 2: Connect MetaMask to OpenSea
Go to the OpenSea marketplace and click the top-right wallet icon to link your wallet. Choose MetaMask as your wallet and verify the connection (a pop-up will appear). When your wallet is connected to the NFT marketplace, you’ll be able to see your profile and make your first NFT.
Step 3: On OpenSea, you can create and mint NFTs for free
Click Create to make a single NFT (on the top-right menu). Click the account icon (top-right, near the wallet icon) > My collections > Create a collection to start minting an NFT collection.
The processes are the same for both single and collection. When you build the NFT collection, you will be able to add items to it and determine the exact number of NFTs to be minted.
Step 4: Make a list of all the NFTs you have.
Go to ‘sell your NFT’ (top-right). You have complete control over the pricing of your NFT. When you’ve finished filling out all of the fields, click Complete listing, and the NFT will be ready for purchase.
It’s worth noting that OpenSea charges a service fee of 2.5 percent, which will be deducted from the selling price once the NFT is sold. It’s as simple as that! You now know how to create and sell NFTs using OpenSea.
There are other ways to create NFTs i.e,
- Step 1: Install Web3
- Step 2: Create a mint-nft.js file
- Step 3: Grab your contract ABI
- Step 4: Configure the metadata for your NFT using IPFS
- Step 5: Create an instance of your contract
- Step 6: Update the .env file
- Step 7: Create your transaction
- Step 8: Sign the transaction
- Step 9: Call mintNFT and run node mint-nft.js
Some of the useful tips :
Always have a burner wallet with you. It’s been mentioned before, but use a wallet with a little amount of ETH and no valuable assets. Your 50k ape will vanish if you sign the wrong document. On a related point, please move your valuable NFTs to a hardware wallet instead of a hot wallet.
wherever possible, Mint from a contract, Many scams exist in which a project promotes a free mint on their website, but then turns the mint button to a signature request for you to accept transfers to your valuable NFTs. This is how your NFTs are quickly stolen.