How to create AI avatar using Midjourney
The use of AI for creating artwork and designs is relatively new but is gaining world-wide attention exponentially. Using AI-art generators to create images has become a common work just like texting or calling someone. It’s that simple. I mean to master AI you need to have skills and ideas to work with. But testing and making basic image creation with these tools is a piece of cake. Let us see how to use Midjourney to create AI avatar, just like the ones you see on your social media platforms like Snapchat or Instagram. Even WhatsApp has come up with it’s new avatar features.
So, let’s see how we can create these AI avatar that match our facial pattern or any characters you wish to design.
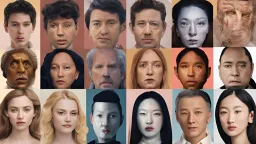
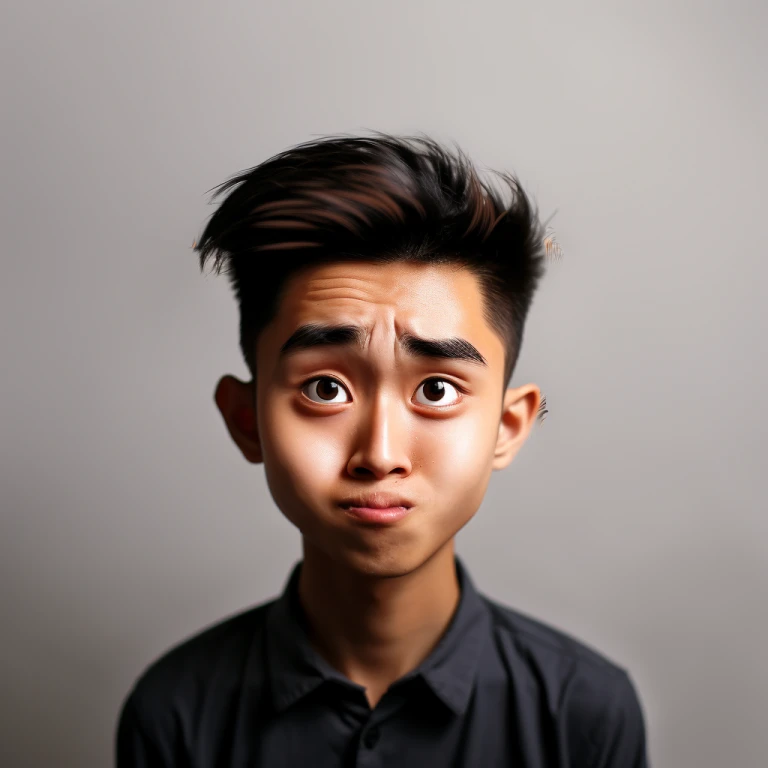
First thing first, We need a Face to work with. If you are using random images from the internet, then you can just visit Unsplash and search for “face shot” and you will get some HD images you can use and these are copyright free images.
But, if you wish to make your own avatar, there are few things to keep in mind before you start this experiment.
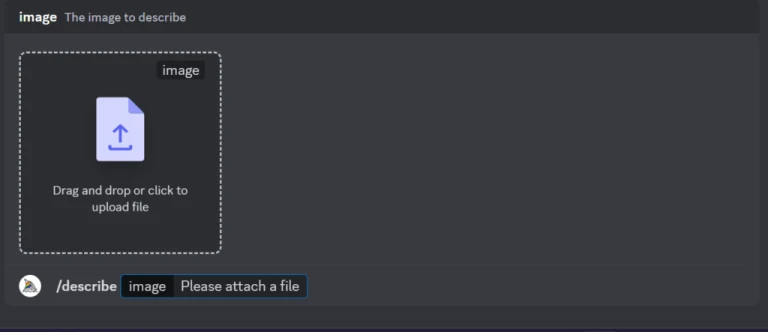
- If you are using Midjourney’s basic subscription model, then you will be on public mode by default. Meaning, irrespective of wherever you create your image, it will be publicly visible to others.
- If you are comfortable with sharing your image publicly, then you are good to go, but if you need a private mode, you need to upgrade to a higher premium model.
 We are on public mode currently
So this being said, Let’s get started creating our avatar.
How to Import your Image on Midjourney?
Assuming you have your image ready,
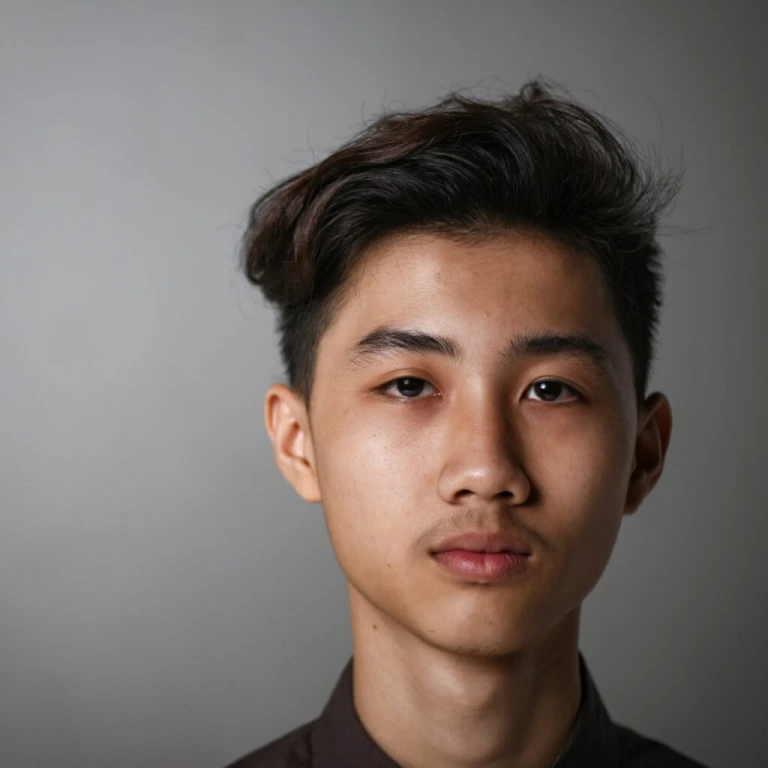
- Open the Midjourney discord server and type: /describe and click enter.
- then double-click on “Drag and Drop or click to upload file” and upload the image
And we have downloaded our image from Unsplash for this demonstration.
- Once the image is uploaded, Midjourney(MJ) will give you 4 example prompts to get the image you have uploaded. Ignore that and just click on the image and once the image is enlarged, at the left bottom of the image you can see – Open in Browser . click on that and copy the URL of the image from the browser.
- Head back to midjourney, in the textbox enter /imagine -> click enter and paste the URL of the image that was copied earlier.

- And now enter the desired prompt on how you wish to change the image.
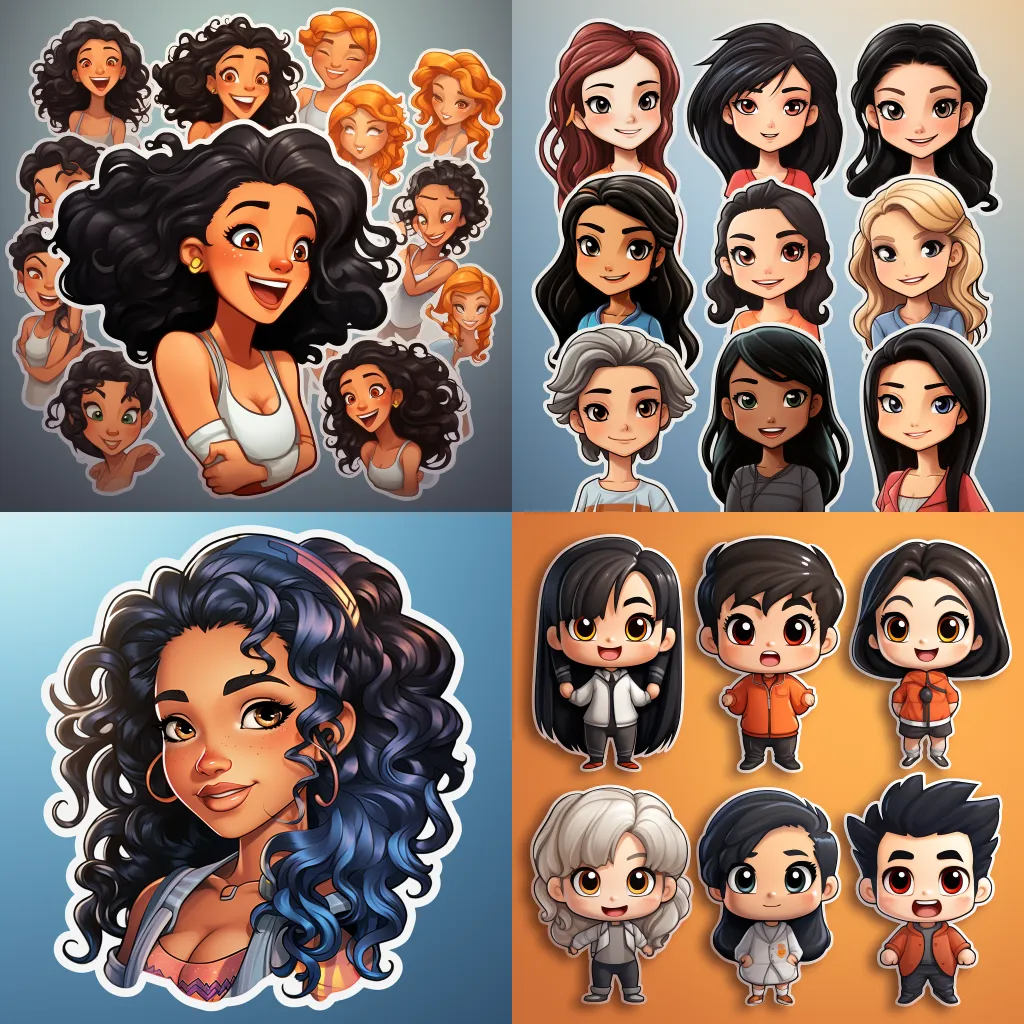
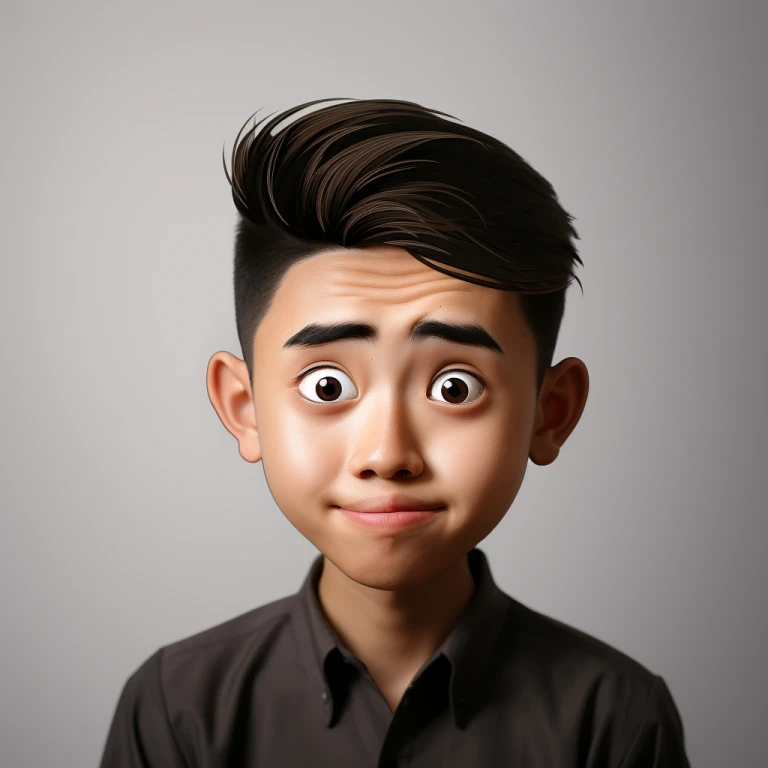
For creating an avatar, we need the image to look like a cartoon anime character with sticker-like features. So here goes the prompt idea to create a basic avatar.
Prompt: [ENTER IMAGE URL], animated avatar stickers, sticker split into 6, different poses –s 250 –style raw
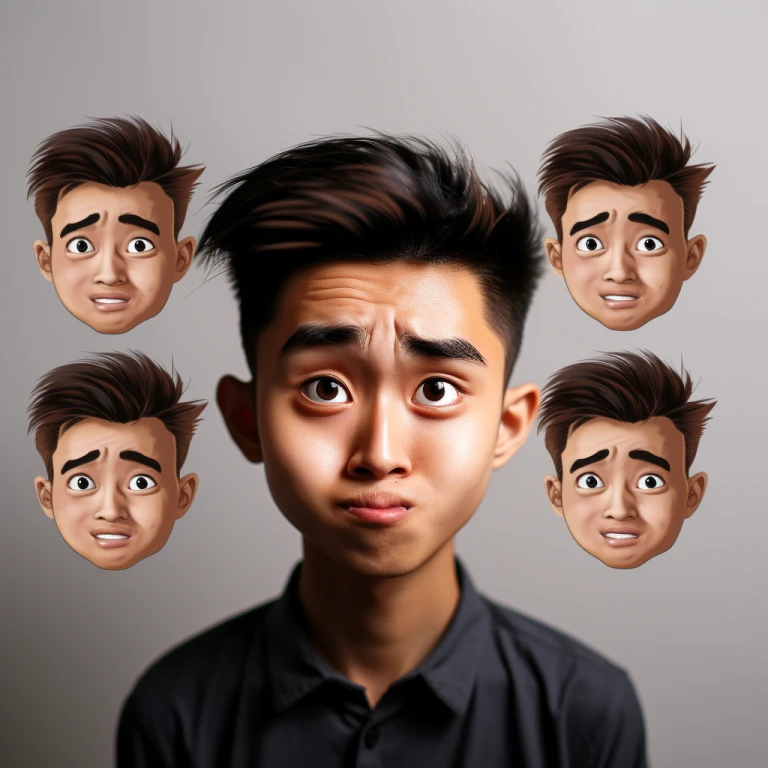
Now you have the image ready. If you like the output, you can have it downloaded, our keep regenerating with modifications to the current prompt. Try and use keywords such as cartoon, animated, 2d, figurine, miniature, stickers and keep other such worlds and start exploring.
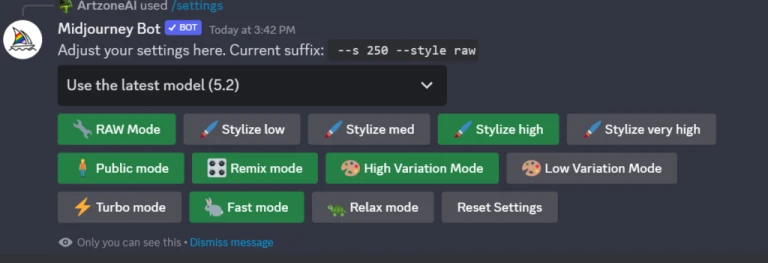
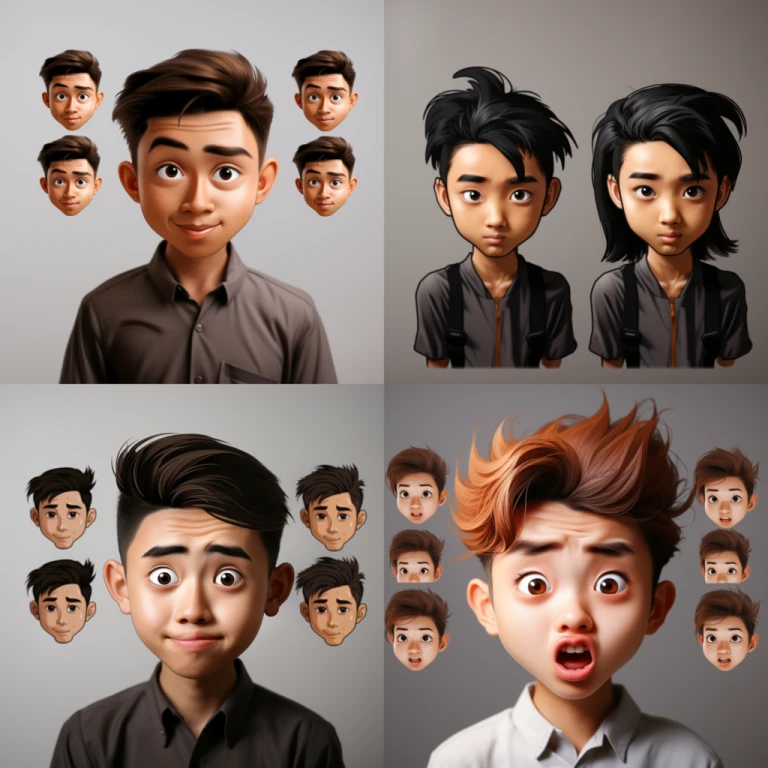
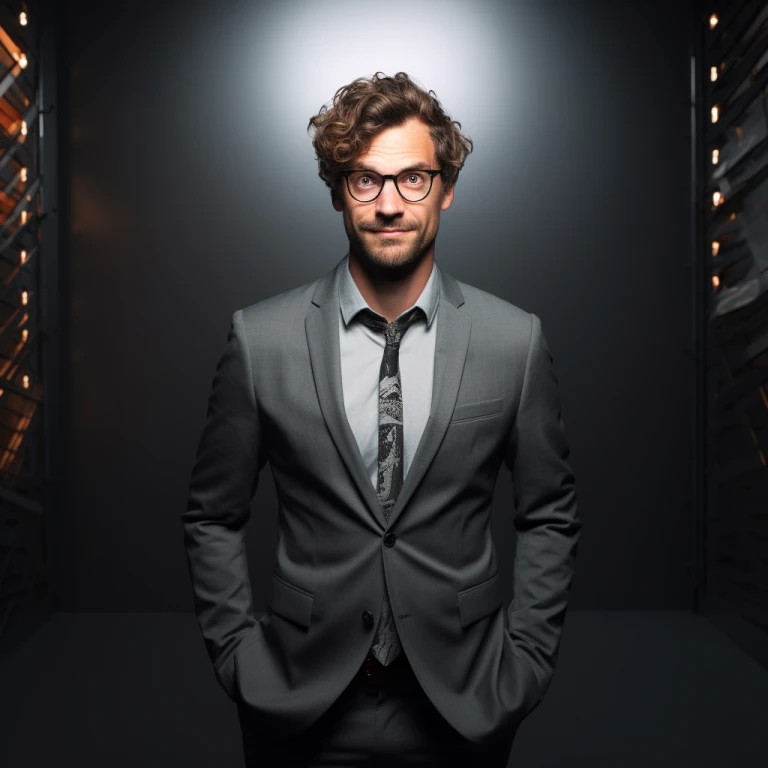
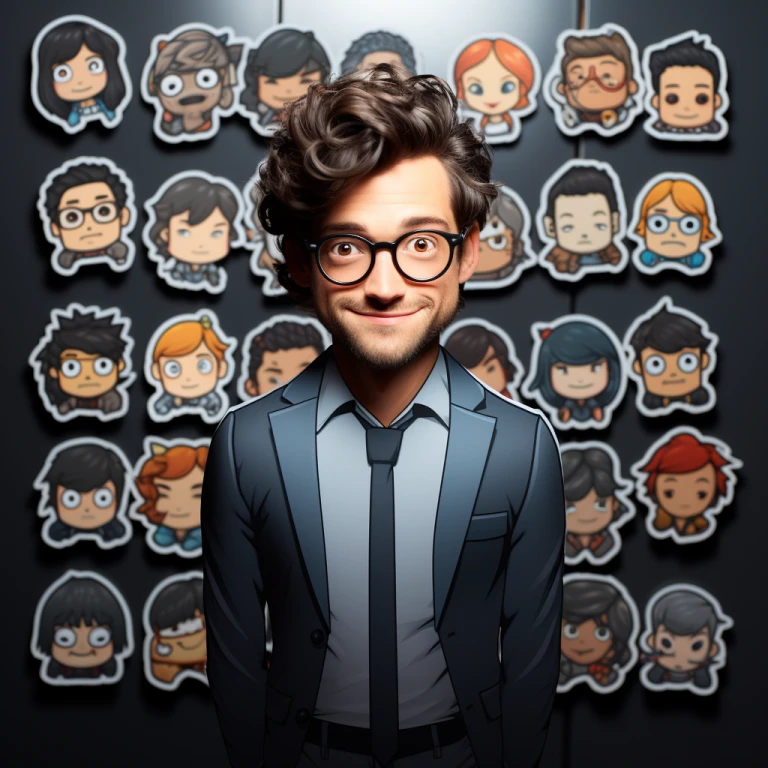
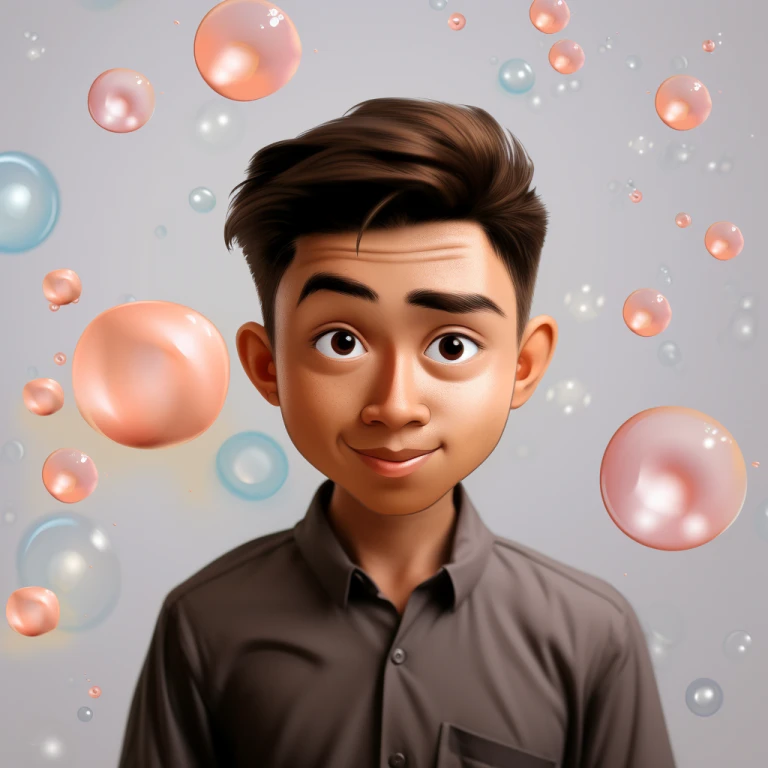
Another such example for creating a full body image with an existing image.
Final touch
Once your images are ready, now you can clear the background. After the desired results have been achieved, Upscale the image of your choice and if you need to clear the background, just click on the Vary(region) button once the upscaling is done.
Open the Vary(region) and select the background you want to remove with the free-form selection tool available at the left bottom of the window.
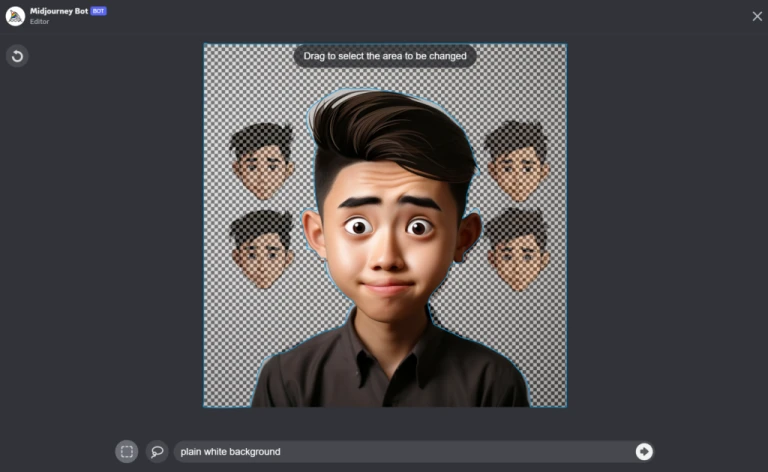
Select and write the required prompt for your background. You can test it any number of times till your desired output is met.
So now, you know how to create your own avatars using Midjourney. Explore it with other available settings and you will be surprised with the kind of output you will get at the end. Welcome to the world of AI art and have fun generating your own AI avatar.