Guide to Midjourney for AI Art
Midjourney is one of the biggest sensations of 2022 in the AI world. The AI arts are in news lately for many reasons and Midjourney is one of it. This article will explore on what is Midjourney and how to create AI arts / Image on Midjourney?
What is Midjourney?
Midjourney is an independent research lab that develops a proprietary artificial intelligence tool that generates visuals from text descriptions. On July 12, 2022, the tool entered open beta, which it is presently in. The Midjourney is led by David Holz. Using Midjourney’s Discord bot commands, users produce art.
How to access Midjourney?
Users can access the Midjourney through Discord. Users have to login to discord and join the Midjourney Beta server. Once you have joined the Discord server, you have to join the AI Art creating channel.
How to create AI Arts / Images using Midjourney?
Follow the following steps to create AI Arts in Midjourney.
- 1 – Join Midjourney beta discord server
- 2 – Select one of the #newbiechannel and accept TOS
- 3 – Use the /Imagine Command
- 4 – Wait for the AI image / Art to process
- 5 – Upscale your Image or make more variations
- 6 – Save the AI image / Art
- 7 – Use Midjourney’s website to check all of your works
Let us go through each step one by one in detail.
Also: Read Make A Video by Meta: What is it?
Step 1 – Join Midjourney Beta Discord server:
Mid journey is currently in beta stage and it can only be accessed through their Discord Channel. You can find the discord channel link in their Home page. However, if you are new to discord; you might have to create a discord account and login. Once you are logged in, you can join the midjourney server.
Step 2 – Select one of the Newbies channel on the sidebar:
 Select Newbie channel
Go to the Newbies channel, search for them in the sidebar. Also, you may create photos on a different server that has invited and configured the Midjourney tool.
Step 3 – Use the /Imagine Command:
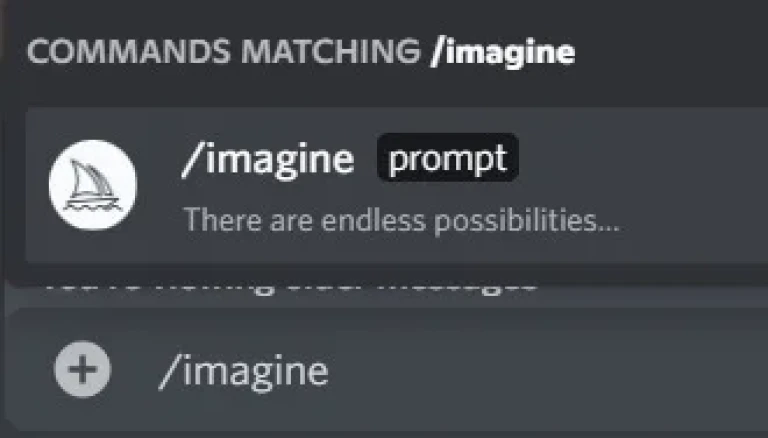 Use /imagine prompt
As soon as you start typing ‘/imagine’, a pop up will appear above your text in the chatting space. Either you can click on prompt or press spacebar/enter to continue to write your prompt / instruction to create your AI Art.
Make sure that you follow the community guidelines, Limit your content to PG-13.
You can use Special inputs such as
- – -ar For customizing Aspect ratio (for ex. 16:9)
- – -q (1-5) for quality. (1 being low quality, 5 being the highest)
- – -stylize for details. Default 2500, Maximum 30000.
Don’t give space in between hyphens.
Example:
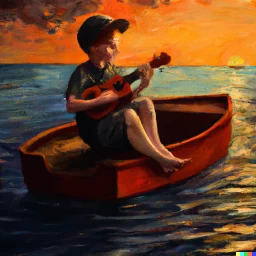
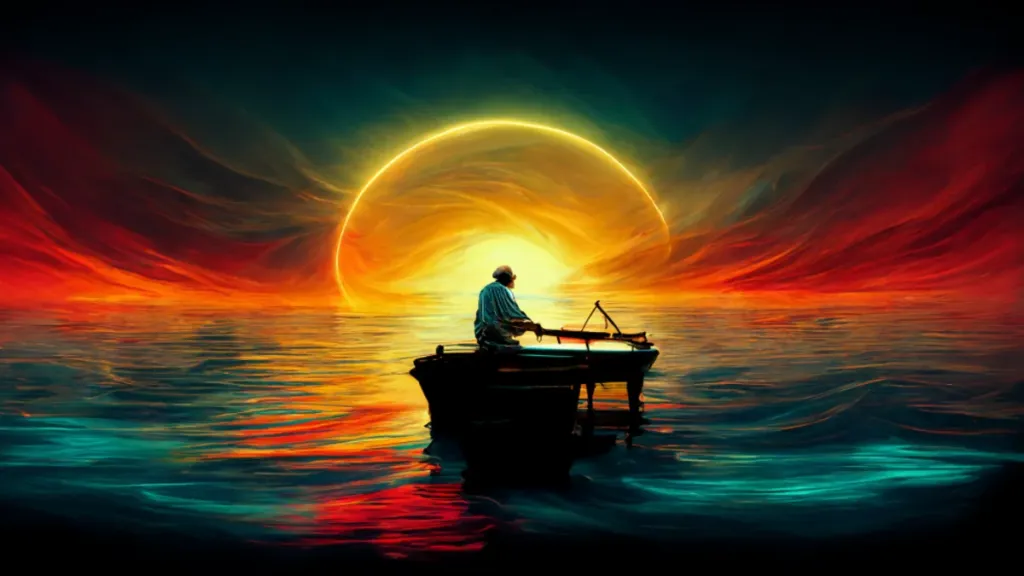
/imagine prompt:man on boat playing piano in a Ocean with sun rise, colorful, realistic, 8k, high resolution –q 5 –ar 16:9
Step 4 – Wait for the AI image / Art to process:
 Wait for your Image to process
Requests produce four choices depending on your request in a minute. However it can go upto 2-3 minutes depending on quality and other inputs you provide in prompt.
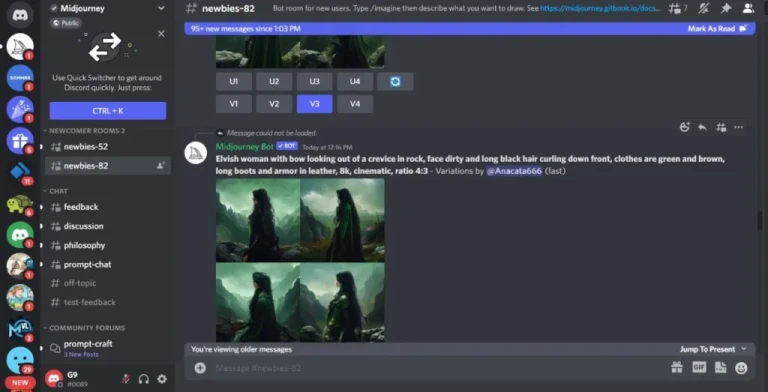
Step 5 – Upscale your Image or make more variations:
In the top row you have U1, U2, U3, U4 buttons. These buttons are for Upscaling the image. Therefore, you can select the images to upscale by selecting the respective button assigned for each image. Once you select the image to upscale, the image will get upscaled to 1024*1024.
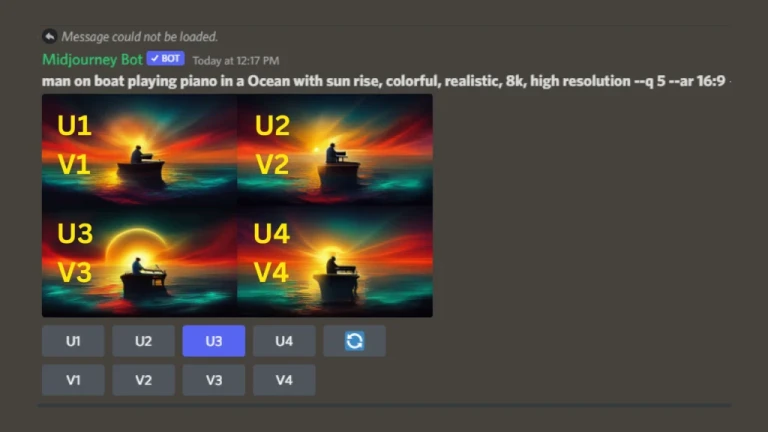 Choose Image to Upscale or Make more Variations
In the bottom row you have V1, V2, V3 and V4 buttons. With this button you can choose to make 4 more variations of your chosen image. They will be similar to the image you choose in terms of overall composition and style.
You can check the above image for reference to the use of buttons.
After you choose the U button you will get a few more options. Such as;
- Make Variation: Does the same thing as V buttons. (More variations of the image)
- Upscale to Max: Further upscales the image to 1664*1664.
- Light Upscale Redo: Upscales again, but it will not add much details to the image.
If you want to go again you can start the process again and try entering new Prompts for the images in the chat section using the /imagine command.
Step 6 – Save the AI image / Art:
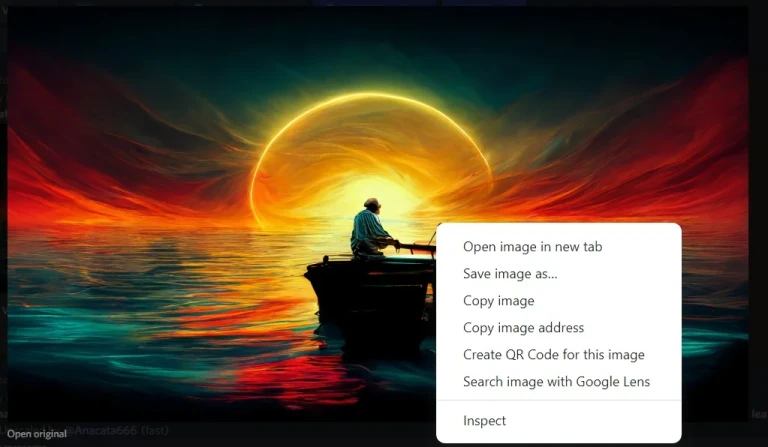 Save the AI image / Art
Once the final image is processed, you can open the original file and you can right click and save the files to your local computer.
Step 7 – Use Midjourney’s website to check all of your works:
Visit https://www.midjourney.com/app/ to access your creations. You can check your images along with the prompts you have used.
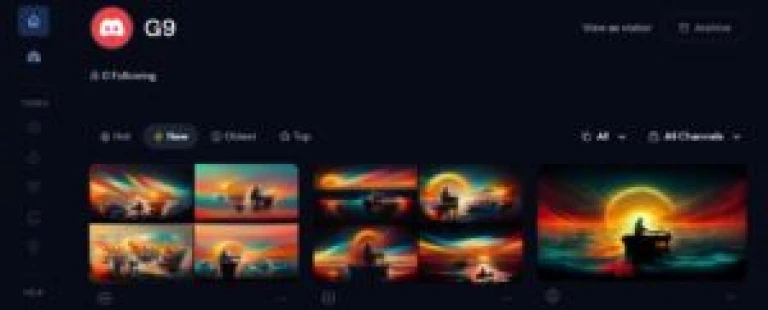 Access your creations here
You can use the option button (3 dots) to access different options. such as Save Image, Copy job ID, Copy prompt, Copy command and also an option to open the image in discord.
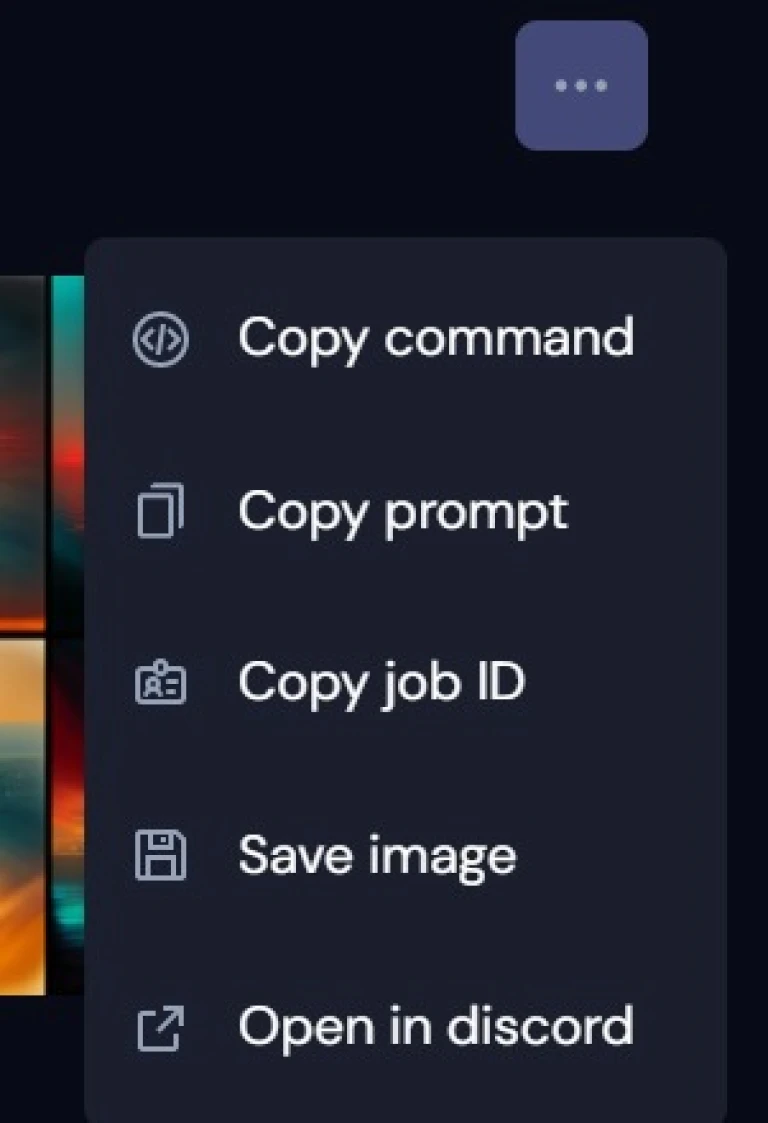 Options available
You can also access the feature called “Community Showcase” where you can enjoy AI arts created by fellow Midjourney Community members. Also, you can access their prompts as well.
Also read our articles on Top Indian NFT artists.